Battle Report, Resistance vs PHR vs Shaltari, 1250pt, 'Precious Cargo'
2022-02-19
10mm-SF /
DZC Resistance /
DZC Shaltari /
DZC PHR /
Battle Report /
Dropzone Commander /
The Concept
Slyphic: I want to try asymmetric objectives. Maybe one force needs to extract objectives, one needs to take and hold their far side of the table (which is the extraction edge for the first). I was reading back over how Starship Troopers did this
Ty: Slyphic and I did a defender vs attacker scenario where the defender was at a pts disadvantage but could start deployed. It was interesting, but it felt like the defender had a big advantage. OK, asymmetrical objective suggestion. Force A is doing the data abstraction, Force B is doing Occupy and Control Area, Force C is just looking to rack up Kill points. The catch is you dont find out which force you are until right before we start, so no tailor making the armies. I also like the idea of two sides doing a battle royal style kill points scenario and the third side trying to extract stuff in the midst of it. I also thought we could try a scenario similar to the monorail, side a wants to escort the truck safely through, B and C want to stop it and seize whats inside, but they arent' allied in the effort
Slyphic: Set ideas to: blend. Side A wants to hold all sectors of the board, calculated every 2nd turn (1 per quarter for having most points of ground units in it, 1 for no enemy units). Side B wants to rack up kills of sides A and C (total number of points of those sides divide by 20?). Side C gets escort or extraction mission (they have to meander across the board and defend transports)
The Scenario - Precious Cargo
Setup
Slyphic: I want to try asymmetric objectives. Maybe one force needs to extract objectives, one needs to take and hold their far side of the table (which is the extraction edge for the first). I was reading back over how Starship Troopers did this
Ty: Slyphic and I did a defender vs attacker scenario where the defender was at a pts disadvantage but could start deployed. It was interesting, but it felt like the defender had a big advantage. OK, asymmetrical objective suggestion. Force A is doing the data abstraction, Force B is doing Occupy and Control Area, Force C is just looking to rack up Kill points. The catch is you dont find out which force you are until right before we start, so no tailor making the armies. I also like the idea of two sides doing a battle royal style kill points scenario and the third side trying to extract stuff in the midst of it. I also thought we could try a scenario similar to the monorail, side a wants to escort the truck safely through, B and C want to stop it and seize whats inside, but they arent' allied in the effort
Slyphic: Set ideas to: blend. Side A wants to hold all sectors of the board, calculated every 2nd turn (1 per quarter for having most points of ground units in it, 1 for no enemy units). Side B wants to rack up kills of sides A and C (total number of points of those sides divide by 20?). Side C gets escort or extraction mission (they have to meander across the board and defend transports)
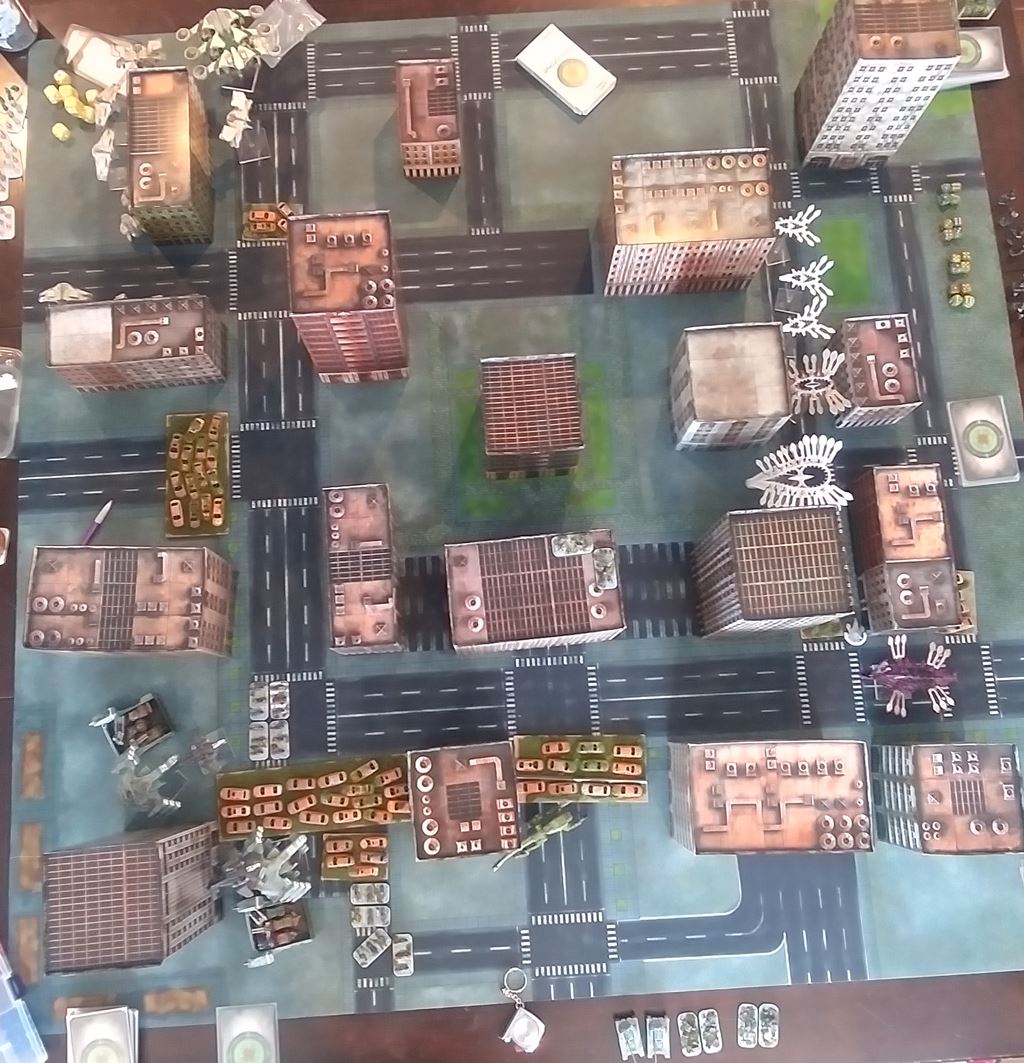
4X4 Board, City scape. 2-3 Large Garrisons with the “Solid” rule (Blue Square). 3-4 Smaller Garrisons (Blue Rectangle), and various smaller buildings (Blue Circle) which can be occupied, but which provide only soft/body cover for infantry. - Player A can deploy anywhere within grids A1-A4 (pink) - Player B can deploy in grid A4 (yellow) - Player C can deploy in grad D4 (Orange)
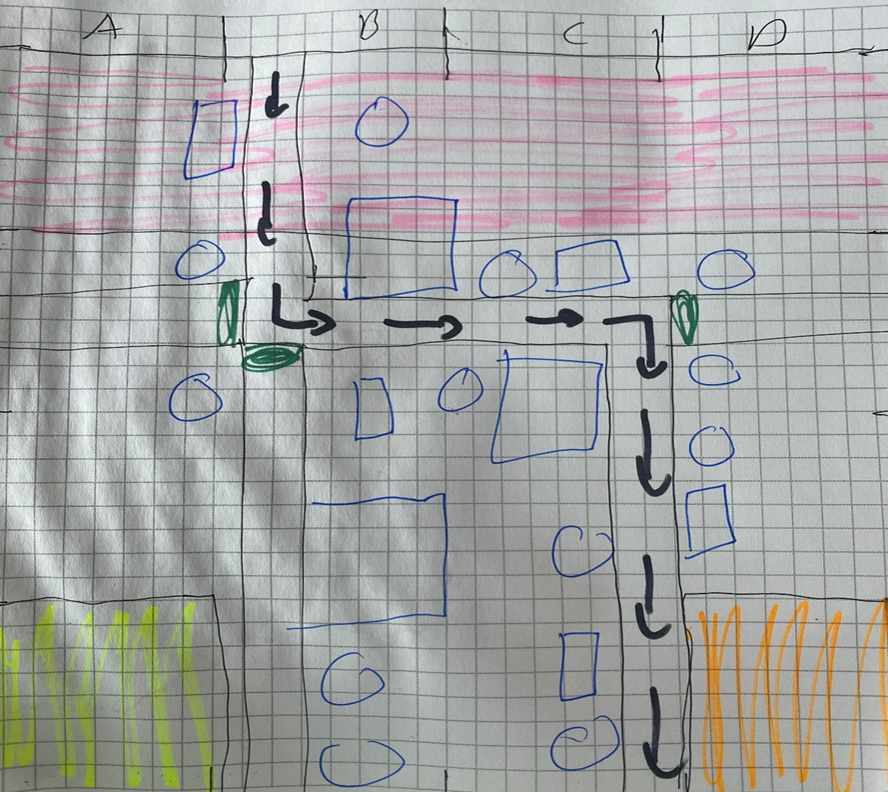
Player A will attempt to escort an armored transport vehicle along the path indicated (arrows). Players B and C will attempt to halt the vehicle (by damaging it). If the vehicle is stopped, it will drop 9 open objectives. These can be claimed and escorted off the board as usual.
Armored Vehicle
The armored vehicle will be placed along the path touching the table edge of grid B1 at the end of turn 1. At the end of turn 2 it will move to the 90 degree turn of B2. At the end of turn 3 it will moved to the 90 degree turn on C2, at the end of turn 4 it will move to the board edge of grid D4, and it will move off of the board at the end of turn 5.
The armored vehicle is heavily armored and powerful, any unit/ units which are in its path when it moved will immediately suffer D3 E10 hits, and be moved to make room for the vehicle (the nearest legal place they can be placed in coherency).
Armored vehicle has 15 DP and armor 15.
Victory Conditions
Player A will win if they are successfully able to escort the armored vehicle off of the board, or if at least 5 of the open objectives remain unclaimed.
Player C will win if the armored vehicle is stopped and they claim more objectives than Player B and if at least 5 of the Open Objectives have been claimed
Player B will win if the armored vehicle is stopped and they claim more objectives than Player C and if at least 5 of the Open Objectives have been claimed
Optional Rules
Waiting in Ambush – Players B and C may each designate one infantry to unit to deploy as if they had the “Infiltrate 24” special rule. This unit may remain hidden until they choose to activate (note their location on a piece of paper).
House Rules in Use: Simultaneous CQ resolution. If you perform a CQ shooting attack, and the target has not fired their weapons that turn, you both roll damage against each other at the same time. Also Fast Movers can enter from any board edge.
The Forces
PHR
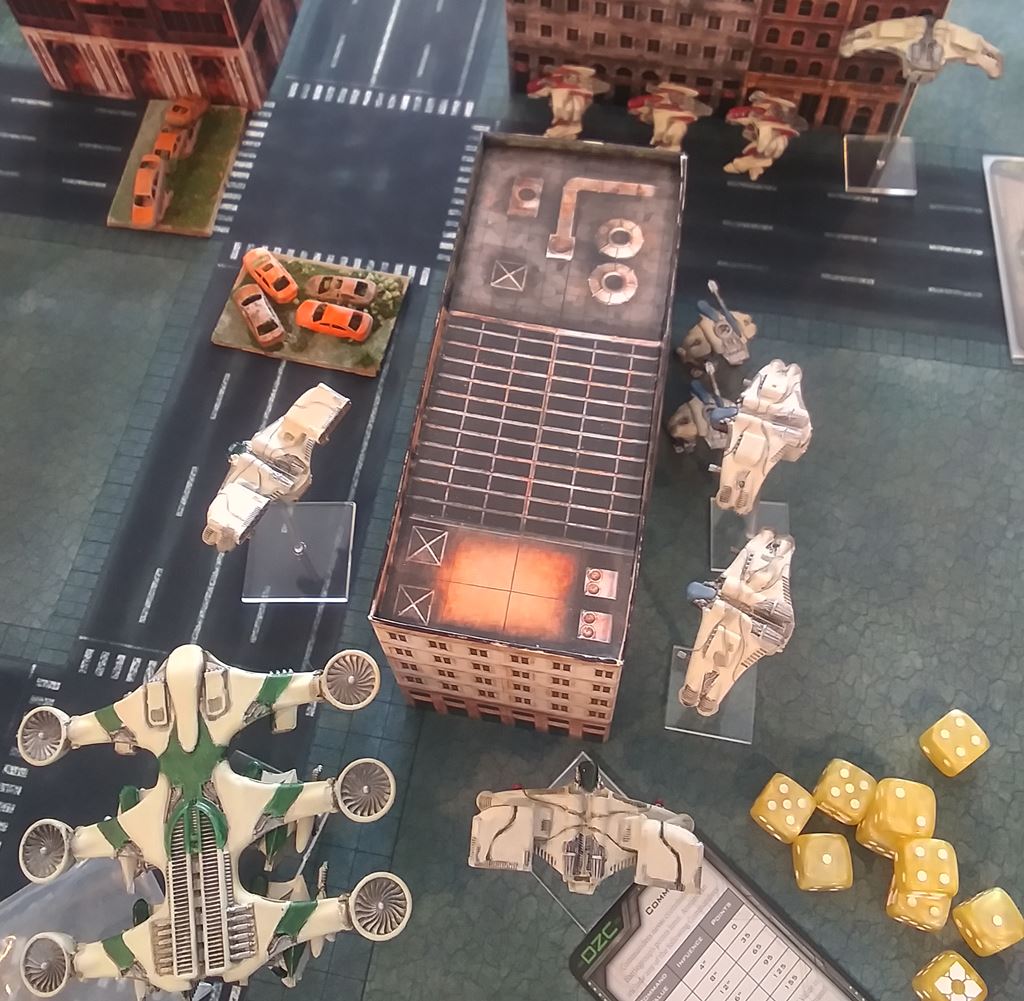
HQ
 3 Hera Command Walkers
 2 Apollo Strike Walkers

Frontline
 2 Longreach Snipers
 1 Medusa
 2 Triton Troopships

Armor
 4 Ares Walkers
 1 Njord Assault Dropship

Vanguard
 4 Valkyrie Assault Troopships
 1 Medusa
 2 Triton-X Troopships
 1 Triton Troopship
Ty: I went for maximum mobility. Have to be prepared to keep up with or catch that vehicle, as the case may be.
The Shaltari
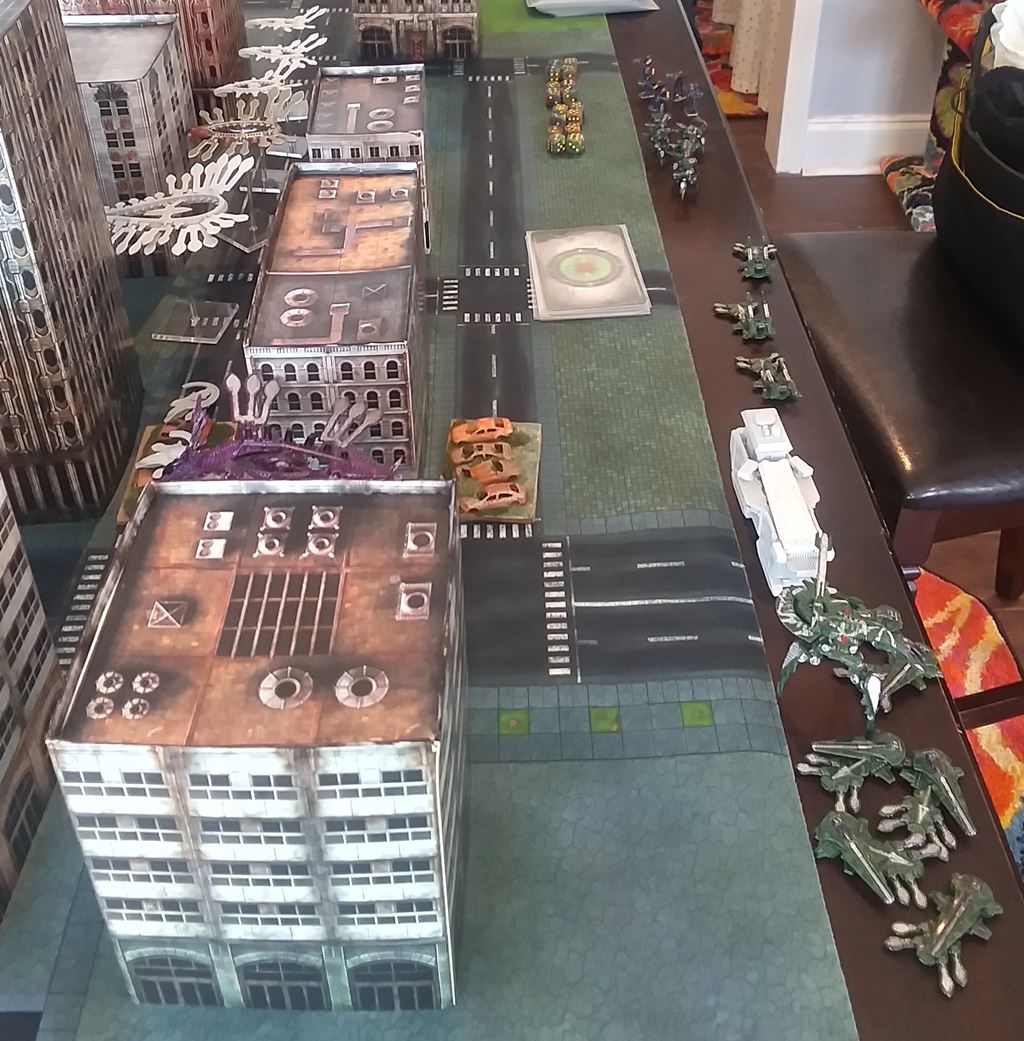
HQ
 3 X Tate Light Shieldtank 40pts
 1 X Frostdrake Command Ship 285pts
 + CV5 Commander 125pts

Frontline - AA Grunts
 2 X Brave Warsuits 70pts
 3 X Kukri AA Gravtank 120pts

Armour
 6 X Tomahawk Gravtank 210pts
 1 X Panther AA Warstrider 125pts

Vangaurd - These Assholes
 6 X Ronin Battlesuit 90pts
 6 X Ronin Battlesuit 90pts

Auxiliary Group
 1 X Eden Gate 120pts
 1 X Gaia Heavy Gate 70pts
 3 X Spirit Light Gate 30pts
Tree: Its a dumb list but when I hit 1250 while moving things around I had to stick. It was destiny.
The Resistance
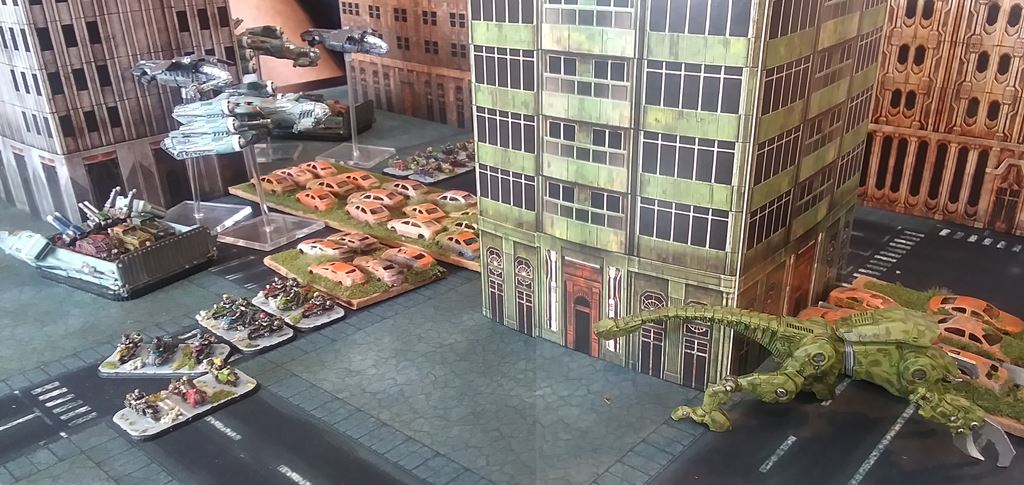
HQ
 Pizzaro + CV:1
 2 Sappers

Armor 1
 3 Gun Wagons in a Kraken
 2 Hannibals in a Lifthawk with AA Turret

Armor 2
 3 Gun Wagons in a Kraken
 2 Zhukovs in a Lifthawk with AA Turret

Infantry
 2 Marine Force Recon Vets in a Swifthawk
 2 Marine Force Recon Vets in a Swifthawk

Cavalry
 4 Freeriders
 4 Freeriders
Slyphic: I'm going to work backwards from too much AA til I figure out what enough feels like. Shoot shit out of the sky, then be faster on the ground.
The Game
Quick note on the mat (there will be a longer product review write up shortly). It's not the camera or your monitor; the mat is off color and weirdly blue, and I can't get a replacement. I wanted to get pictures of it with buildings and units next to it for use later when I thoroughly disparage both the product and manufacturer/retailer I got it from.
Shaltari get the escort quest. Resistance, thanks to Infiltrate, are right up in their face before Turn 1 even starts.
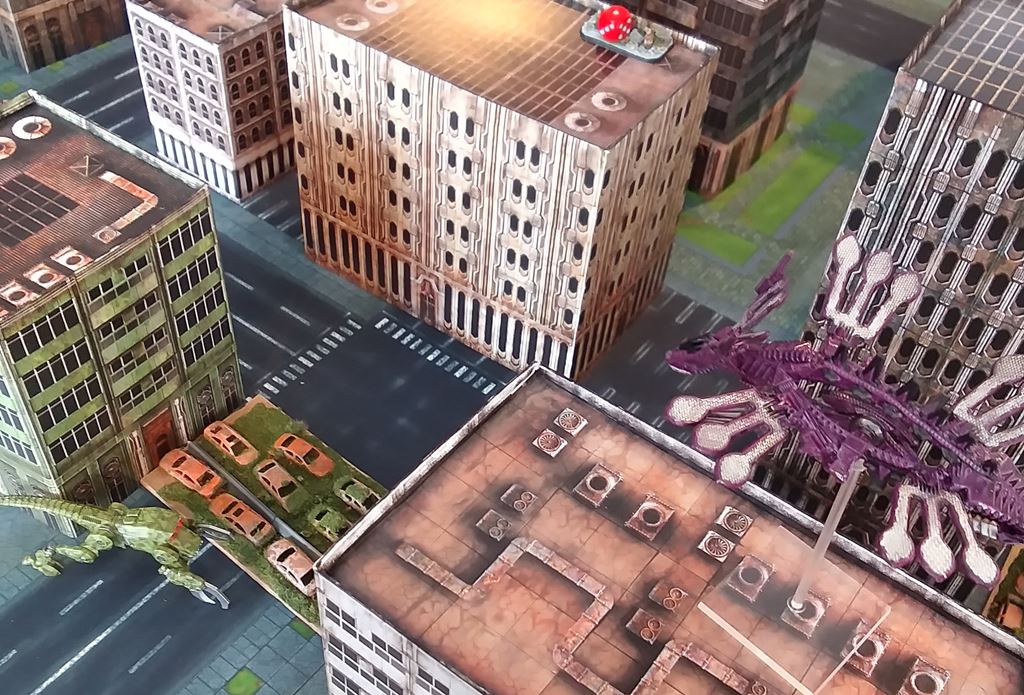
The Frostdrake goes in for an early Foe-Crusher Cannon decapitation strike, but flubs the damage roll. This would be one of the few failed Shallie rolls all game.
Where the Foe-Crusher failed, massed main grav-tank gauss fire succeeds.
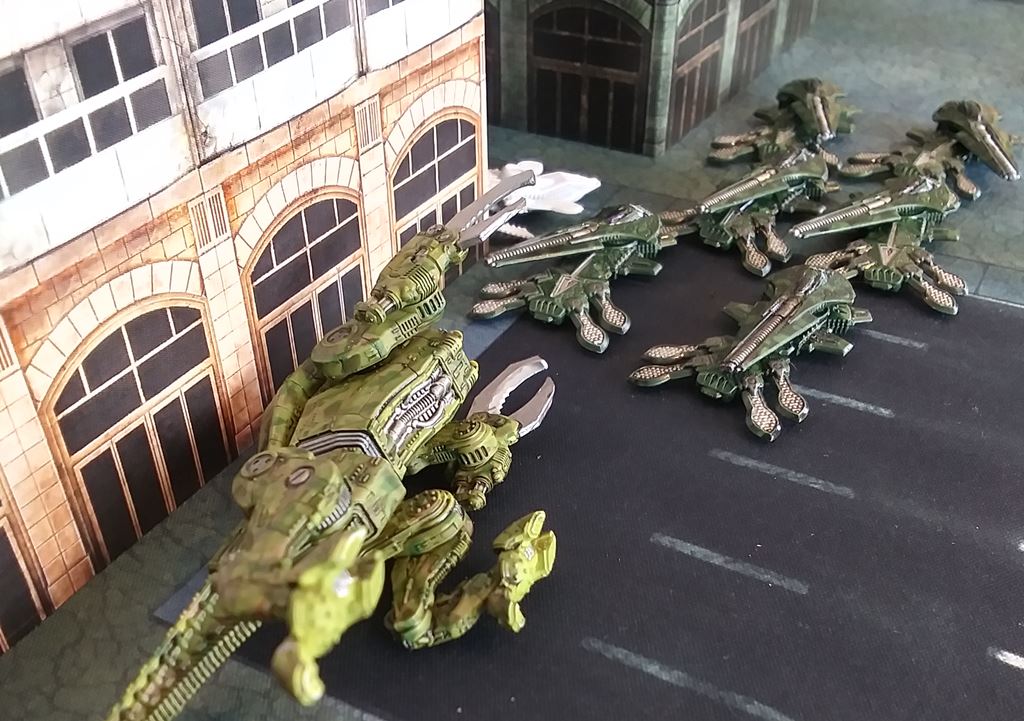
Hoping to roadblock the transport early, the Resistance push forward with what would prove woefully inadequate anti-armor firepower attempting for a kill out of range of the PHR.
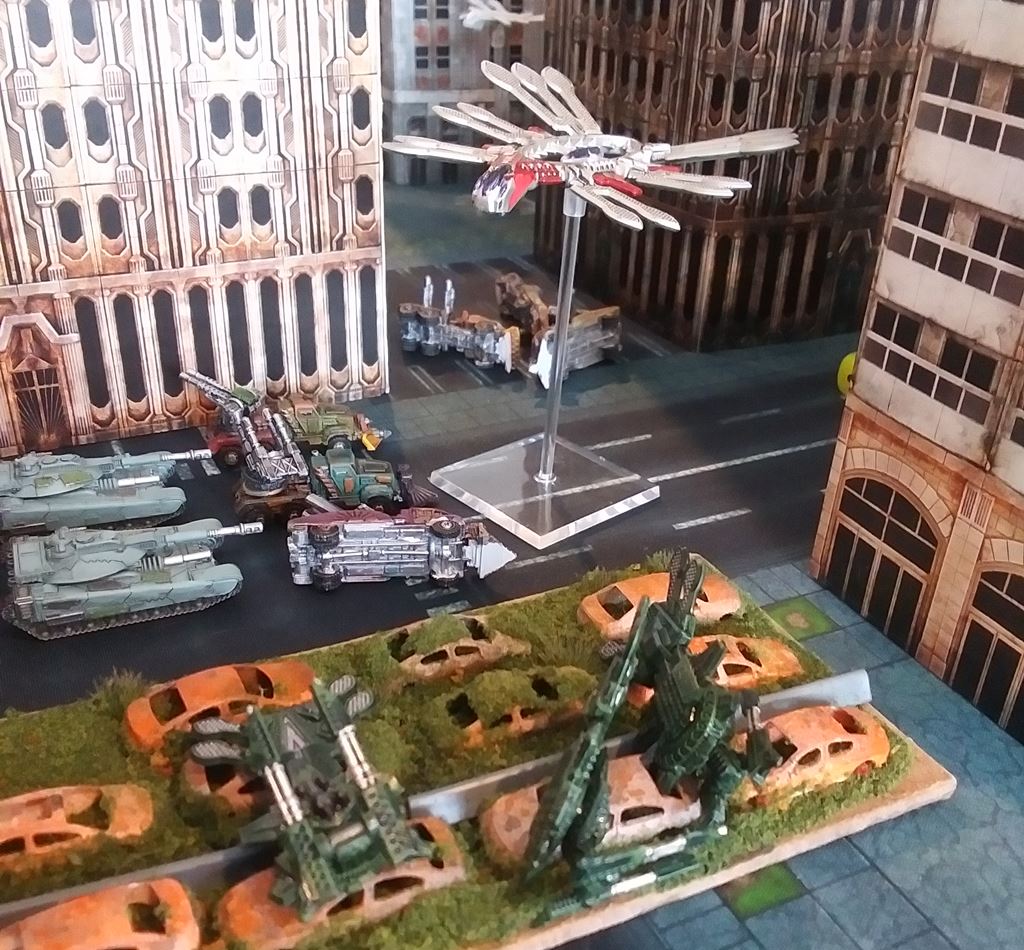
Zhukovs and Lifthawks down a Njord, though every single Ares panic drops to safety before it veers off into the side of a building.
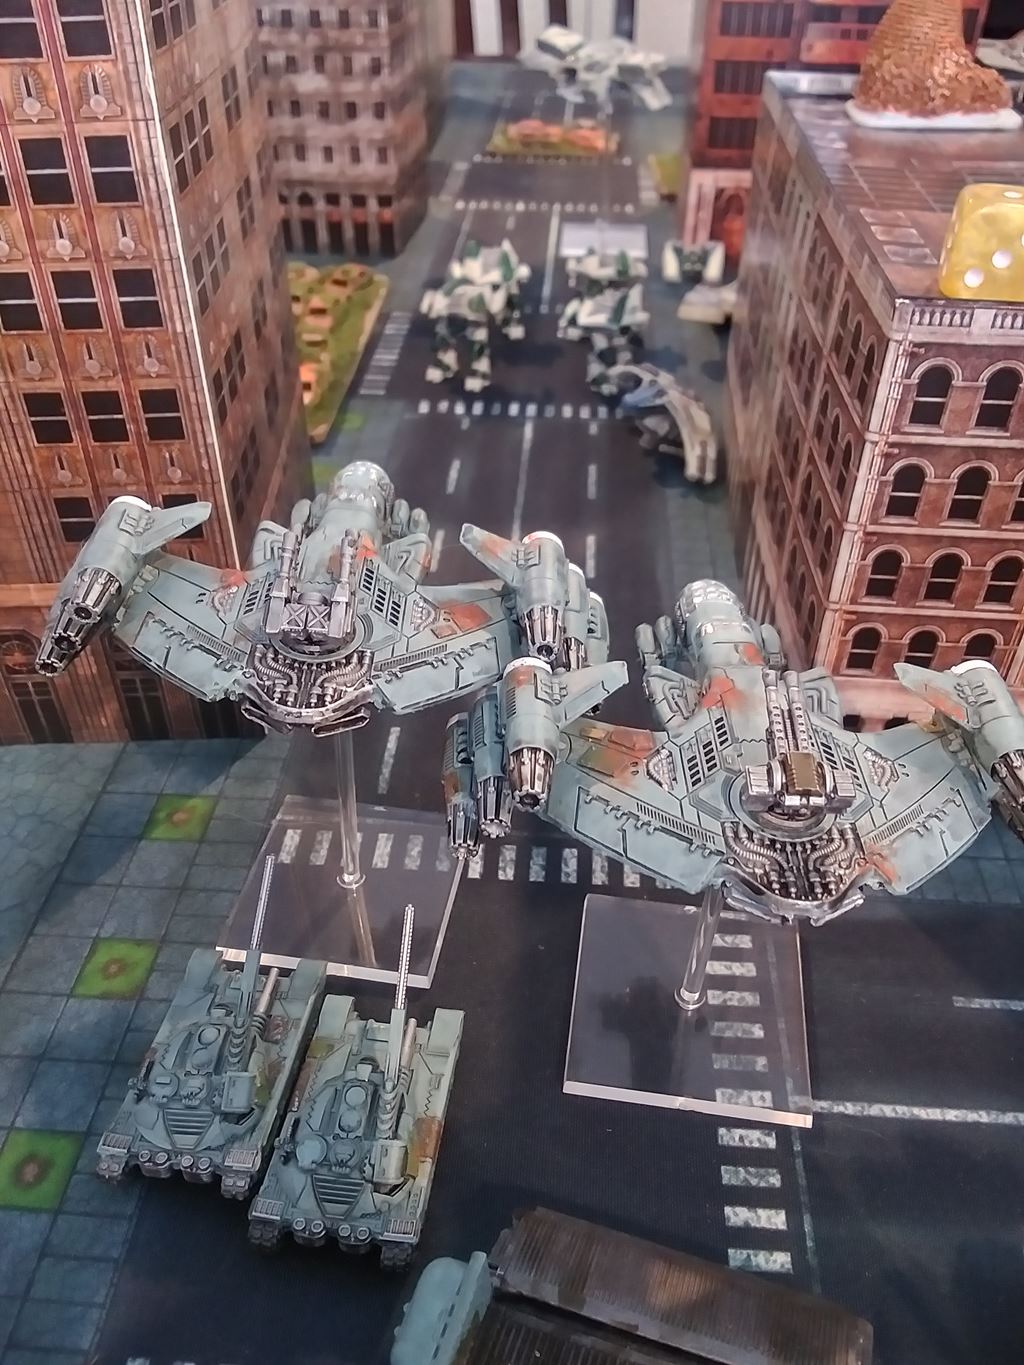
Turn 3 - The transport is trundling forward largely unscathed, while transports are dropping like flies, though so are the AA units.
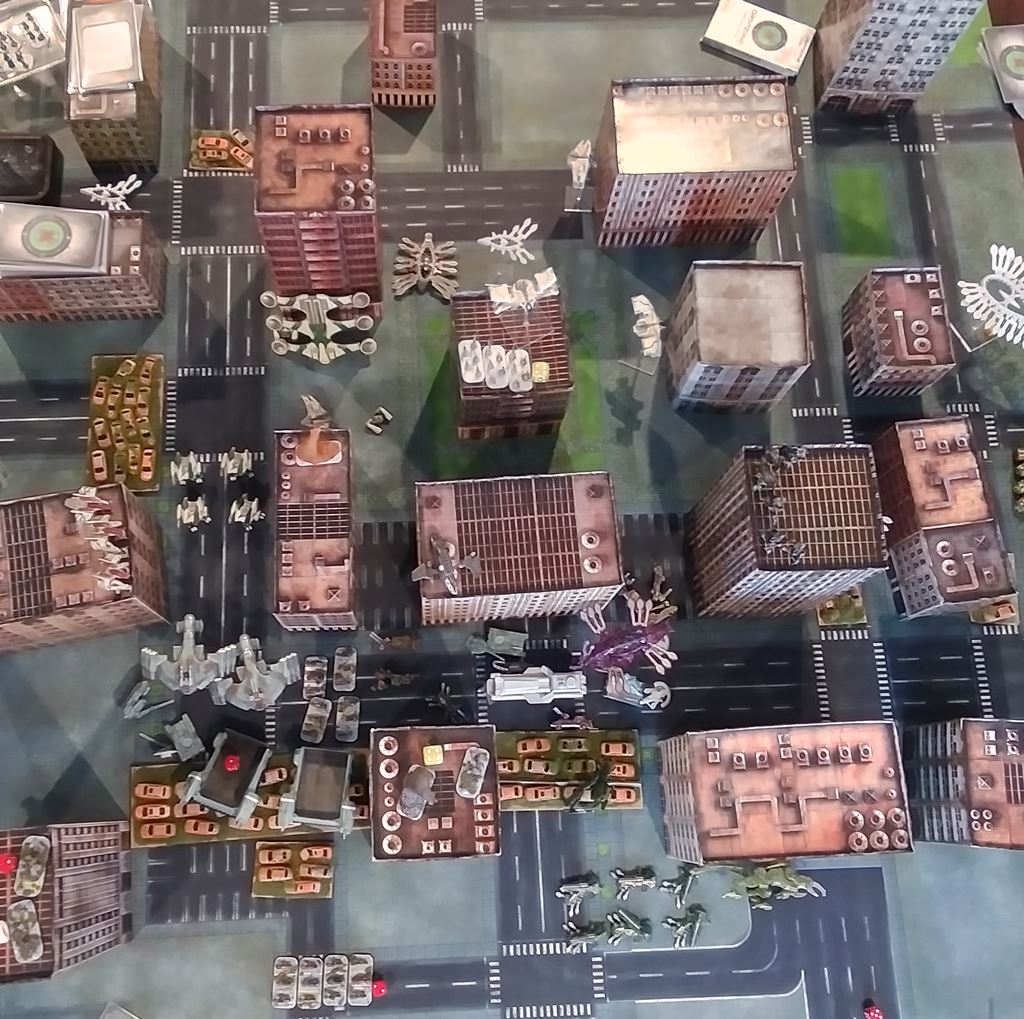
Turn 4, and the PHR walkers are starting to cut through the armor. Shaltari skimmers are slowly dying, and the Resistance is down to a Kraken desperately trying to get ahead of the transport before it outranges them. At this point, all the AA is gone save the Lifthawks.
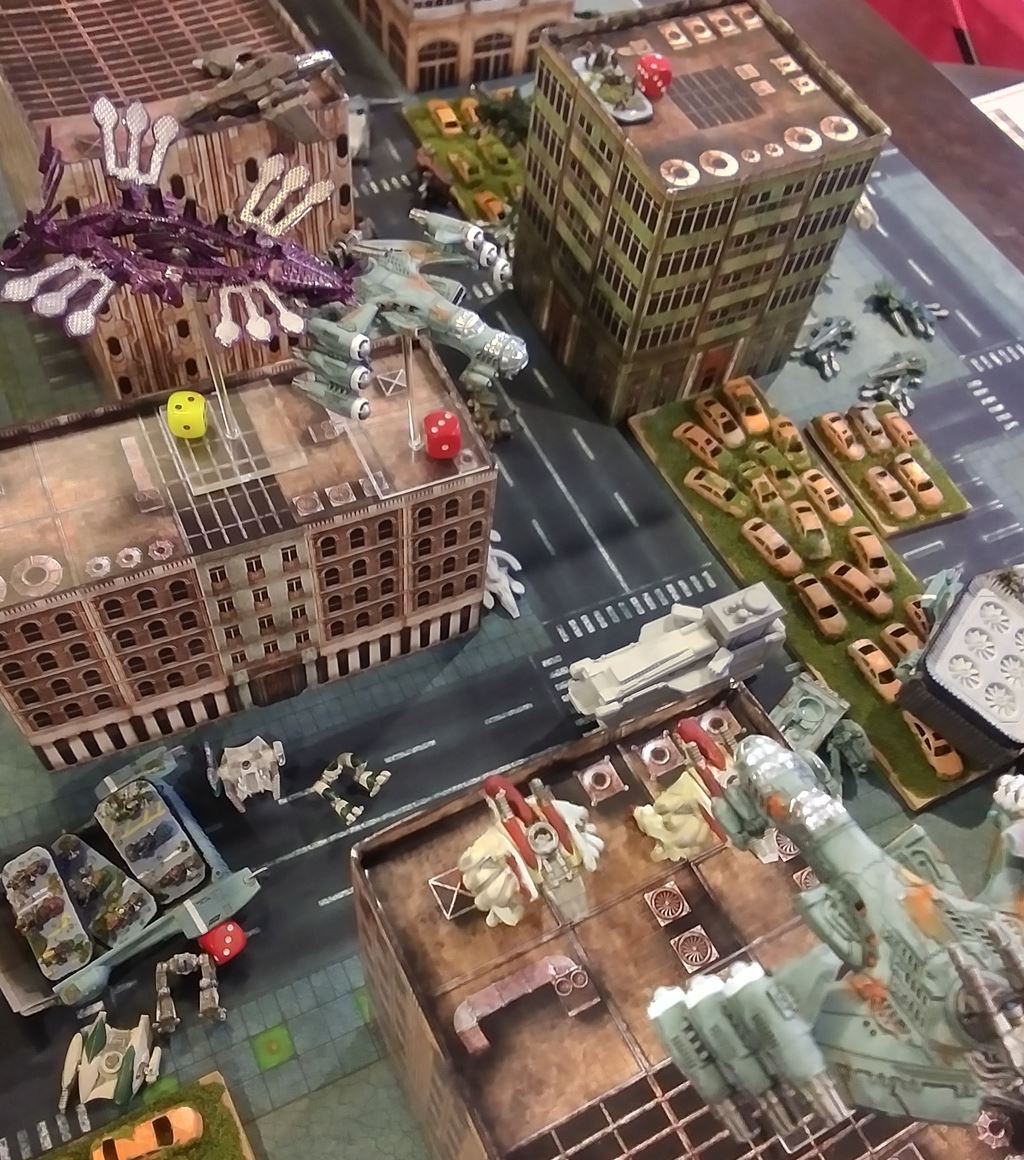
In a move more bravado than strategy, the Valkyrie crash into the Ronin held building overlooking the last turns of the transport, hoping for a vantage to pillage it, only to eat their fill of cabine gauss rounds and die every one of them.
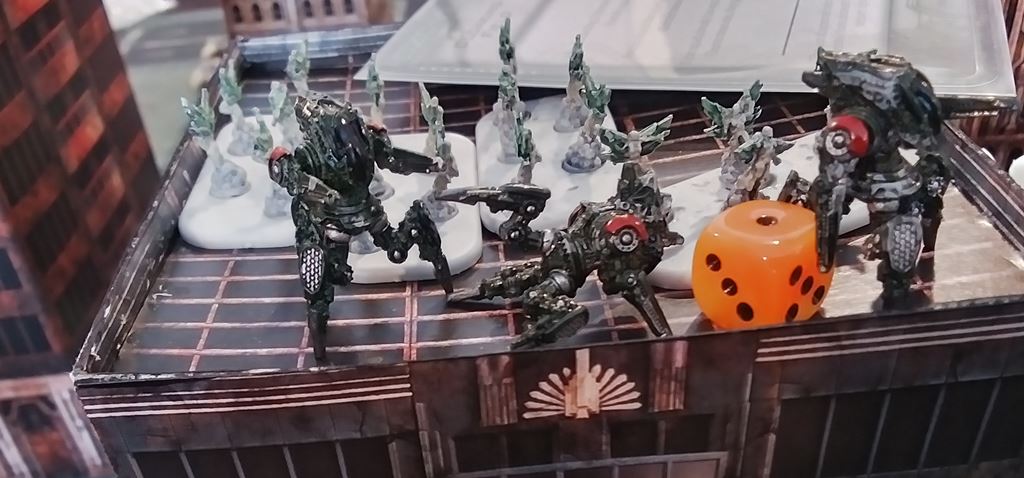
We called it on turn 5 when the transport finally popped like a pinata, and we did a head count of units left that could claim objectives and found the Shaltari would keep the majority out of our hands by the next turn, and fighting over 2nd place wasn't that interesting.
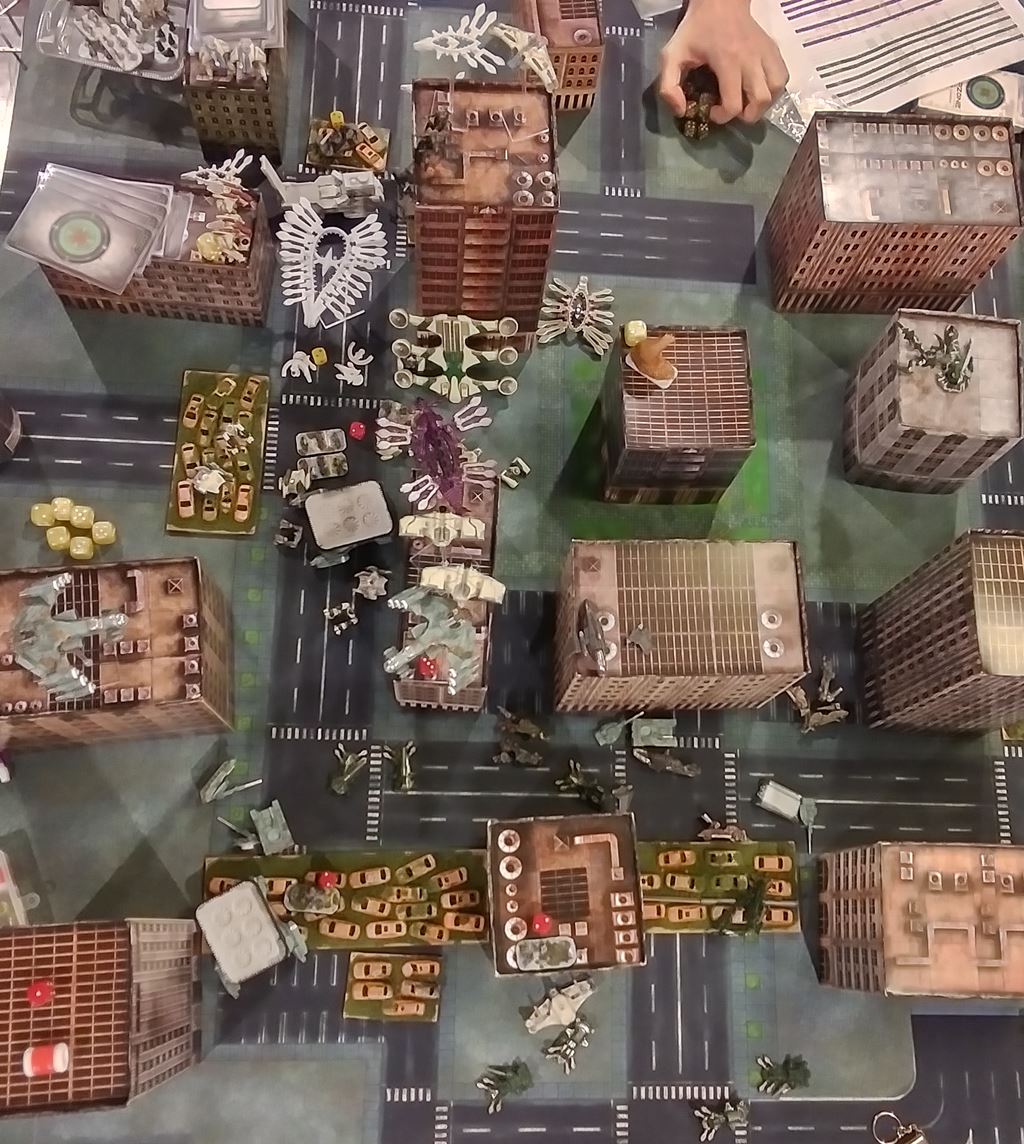
Another glorious Shaltari victory, by the skin of their teeth.
After Action Reports
Ty - Scenario Analysis: The Scenario was fun, but there are two things I would like to change for future games. Firstly, the escort vehicle needs to start on the board. There was a lot of action prior to its arrival; and it gave the early game more of a “Battle Royale” feel than I would have liked. And, secondly, the vehicle should be segmented, like a train or caravan. This would allow objectives to be dropped at different locations/times along the way. In our game, by the time the vehicle was stopped, there simply was not enough time remaining to claim any objectives.
Ty - Gameplay Analysis: The turn 5 decision to have the remaining Valkyries assault the Ronin was an egregious error. Tree had a number of handy command cards ready to eviscerate my poor winged angels, and losing so many infantry units kept me from being able to claim objectives. Additionally, I was legitimately blindsided when the resistance AA went after the Njord. It left most of my armor woefully out of position, and while I was definitely able to destroy the models responsible, the lack of mobility was a serious blow. Credit to Slyphic for wrong-footing my walkers so early in the game.
Slyphic: Why the hell did I put my sappers in such a forward building? I should have used the tower in my deployment zone, but apparently I'm an idiot that throws them straight into a Frostdrake microwave gun (it might have had range regardless come to think of it, damned versatile hedgehog battleship). While I managed to damage both the Frostdrake and Gaia gate, neither went down; next time, concentrate fire til dead, not just driven off. The concept of too much AA... might actually have been about right if I'd brought more anti-armor, specifically some standard fighters with RPGs instead of vets. And ditto to all the scenario notes of Ty's.
Tree: I keep doing well so I'm not yet learning lessons like not spending points on commander levels I don't need... do I need them? Are the cards good? Is going first a good thing? My main battle tanks might be the worst in the game stat wise but I keep massing them; is that the right move?