Battle Report, Scourge vs PHR vs Shaltari, 1250pt, 'Defend the Bunker'
2022-03-22
DZC Scourge /
DZC Shaltari /
DZC PHR /
Battle Report /
Dropzone Commander /
10mm-SF /
The Concept
Tree: So I'm still toying around with a 3 way scenario.
Tree: Side A is defending an air defense bunker, gets a few Defense Turrets to deploy. Scores point each round based on survival
Tree: Side B is escorting a fleet of bus bombs to knock out the bunker. Gets points for damage done to Bunker and Team A assets.
Tree: Team C is looking to steal busses and scavenge destroyed units for points. Downed enemy units will become searchable mobile objectives with random values. 50% of their battle groups will start on either side of the board
Tree: Buses were just a base for the stats. So they don't move on a track and are terrestrial. The conceit is defenders have air and space control. Attackers are making a break through strike on an air command site to weaken the blockade. C team is also starved of supply
Ty: So presumably the defenders would start on board and have the defensive position, attackers would begin in readiness but would have the advantage of the extra bomb busses, and the c team has tactical flexibility and the easiest task, since they are just scavenging corpses. I like it, it feels balanced in concept.
Tree: Yeah, green has it easiest so they get split up and nothing. Blue gets some free turrets that operate so long as they have someone in the garrison. Red gets free bomb buses as they must run the gauntlet and attack a dug in position. I figured they would start on board even if not in transport. I figure attackers have it the hardest. might not turn out that way
Slyphic: I could see starting with 2 buses on the board, bringing 2 more in from the edge the next turn, so they're staggered. I guess a better question is when should the buses be hitting the bunker and work backwards from that.
Slyphic: How about this. A string of buses timed to arrive (if they travel as directly as they can from setup) on turns 2/3/4/5. But we use M&F0, each bus essentially driving right up to the edge, carefully positioning a massive shaped charge
Ty: also relative damage, right? Should a bus that hits its target destroy the bunker? if so, should that just be the rule instead of having them inflict damage? It would certainly increase the need to destroy these busses by the defenders
The Scenario - Defend the Bunker
Tree: So I'm still toying around with a 3 way scenario.
Tree: Side A is defending an air defense bunker, gets a few Defense Turrets to deploy. Scores point each round based on survival
Tree: Side B is escorting a fleet of bus bombs to knock out the bunker. Gets points for damage done to Bunker and Team A assets.
Tree: Team C is looking to steal busses and scavenge destroyed units for points. Downed enemy units will become searchable mobile objectives with random values. 50% of their battle groups will start on either side of the board
Tree: Buses were just a base for the stats. So they don't move on a track and are terrestrial. The conceit is defenders have air and space control. Attackers are making a break through strike on an air command site to weaken the blockade. C team is also starved of supply
Ty: So presumably the defenders would start on board and have the defensive position, attackers would begin in readiness but would have the advantage of the extra bomb busses, and the c team has tactical flexibility and the easiest task, since they are just scavenging corpses. I like it, it feels balanced in concept.
Tree: Yeah, green has it easiest so they get split up and nothing. Blue gets some free turrets that operate so long as they have someone in the garrison. Red gets free bomb buses as they must run the gauntlet and attack a dug in position. I figured they would start on board even if not in transport. I figure attackers have it the hardest. might not turn out that way
Slyphic: I could see starting with 2 buses on the board, bringing 2 more in from the edge the next turn, so they're staggered. I guess a better question is when should the buses be hitting the bunker and work backwards from that.
Slyphic: How about this. A string of buses timed to arrive (if they travel as directly as they can from setup) on turns 2/3/4/5. But we use M&F0, each bus essentially driving right up to the edge, carefully positioning a massive shaped charge
Ty: also relative damage, right? Should a bus that hits its target destroy the bunker? if so, should that just be the rule instead of having them inflict damage? It would certainly increase the need to destroy these busses by the defenders
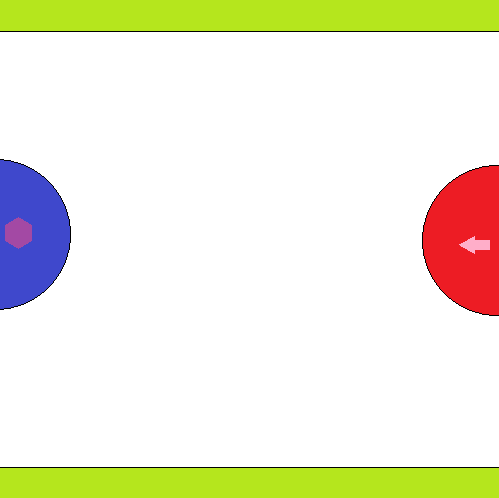
4X4 Board, City-scape, usual density of buildings. One building near the middle of one edge is a Bunker (A:13, DP:40).
- Player A (Blue) deploys from the middle 18" of the board edge the Bunker is nearest.
- Player B (Red) starts with all units deployed and in readiness on the board in their area.
- Player C (Green) moves on from the either of the remaining board edges.
Player A gets to deploy 2 Remote Bomb Buses per turn.
Player B gets to start with 2 Sentinel Defense Turrets deployed on top of buildings close to the Bunker.
Victory Conditions
A wins if the bunker is alive and team C has under 6 points.
B Wins if the Bunker is destroyed and C has under 6 points
C wins if they have 6 points or more from Searching destroyed enemy units
Optional Rules
House Rules in Use: Simultaneous CQ resolution. If you perform a CQ shooting attack, and the target has not fired their weapons that turn, you both roll damage against each other at the same time. Also Fast Movers can enter from any board edge.
The Forces
PHR
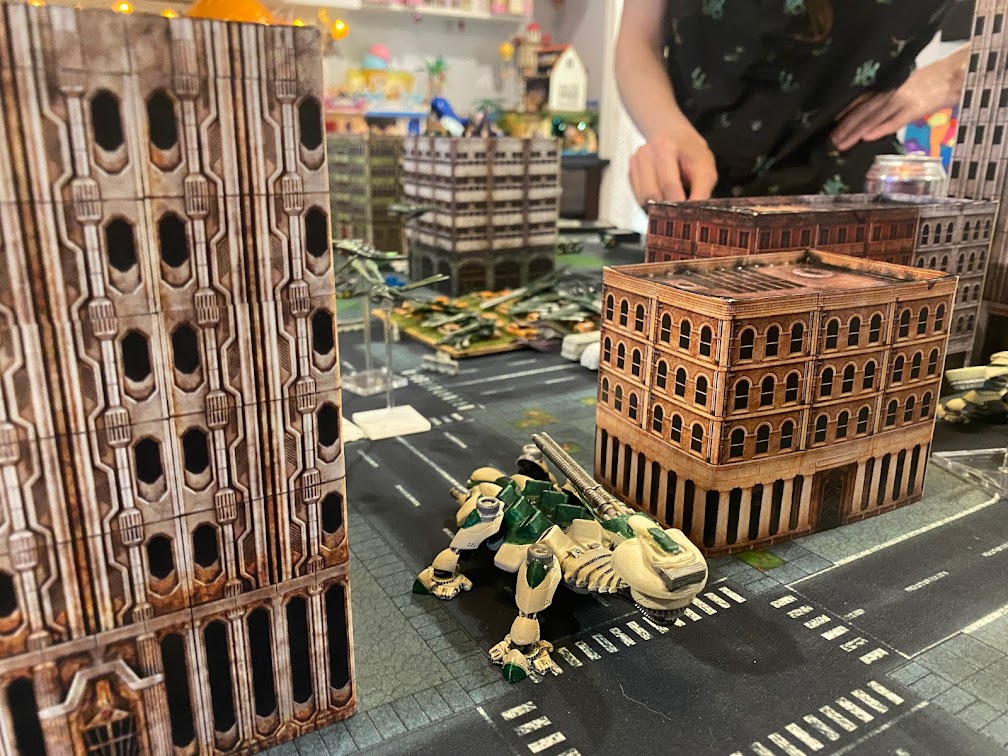
HQ
 Nemesis + CV:3
 2x Mercury

Armor
 Ares
 Phobos
 Hades
 Neptune
 Poseidon

Frontline
 8x Immortal
 2x Juno
 2x Juno w/ Huntsman Cannons
 Njord

Auxiliary
 Athena w/ Cruise Missiles
 Athena w/ Shooting Star Missile Battery
Ty: I drew the C role in this game; which I will deem “Scavenger” (as opposed to “Attacker” or “Defender”). This is the role I wanted least. It requires splitting forces between two table halves, and requires a large number of infantry to claim searchable objectives. Additionally, both other forces would begin the game fully deployed (not even in transports) where as I would begin the game in Readiness (save for my HQ, of course). I decided I needed to create very large battlegroups, since the individual groups would be unable to support each other. Moreover, I wanted to take the Athena since it would provide tactical flexibility, and the chance to attack either board edge as needed. The infantry would be all Immortals (“Quantity has a quality all its own” – Napoleon Bonaparte).
The Shaltari
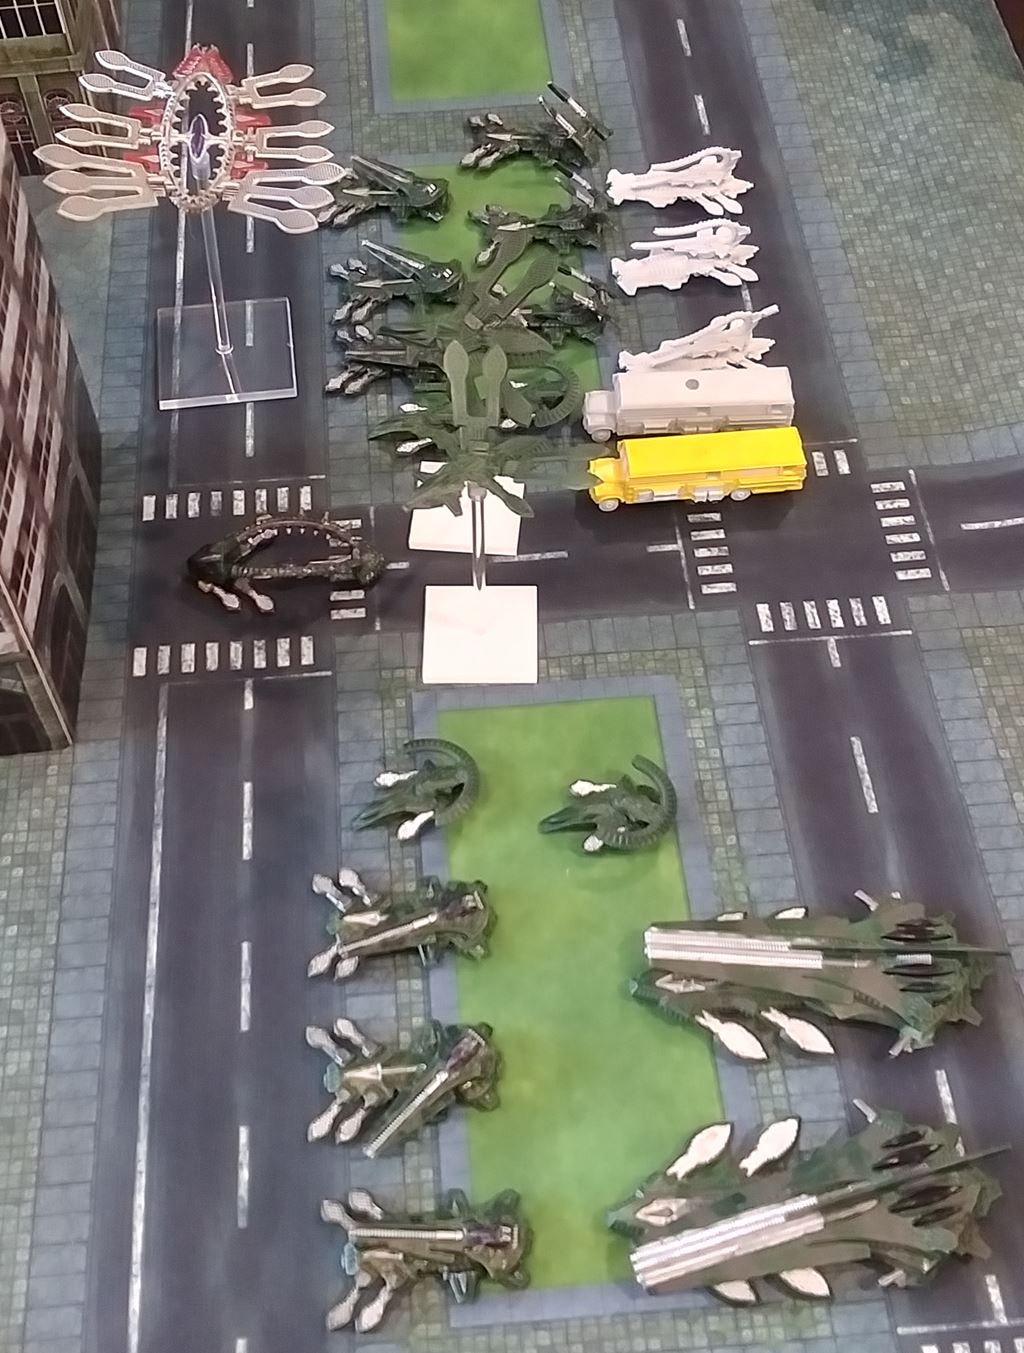
HQ Battlegroup
 2 X Tate Light Shieldtank 40pts
 2 X Tate Light Shieldtank 40pts
 1 X Daimyo Battlesuit 160pts
     + CV4 Commander 95pts

Frontline Battlegroup
 2 X Brave Warsuits 70pts
 6 X Ronin Battlesuit 90pts
 2 X Thunderbird Light Gunship 80pts

Armour Battlegroup Reach
 3 X Tomahawk Gravtank 105pts
 2 X Caiman Heavy Gravtank 230pts

Armour Battlegroup Path
 3 X Tomahawk Gravtank 105pts
 3 X Atlatl Gravtank 90pts
 3 X Kukri AA Gravtank 120pts

Auxiliary Group
 1 X Obelisk Ionspire 60pts
 1 X Eden Gate 40pts
 1 X Haven Terragate 20pts
Tree: Directly deploying opened up a few points that I am elected to use on trying out the Ionspire. Everything else was rather normal for my lists. I don’t own many walkers and truth be told I just think the skimmer tanks are workhorses I can count on. Plan was to use dependable E10 guns to try and open up holes for the buses and hope the new Atlatl teleport tanks could clear up log jams.
The Scourge
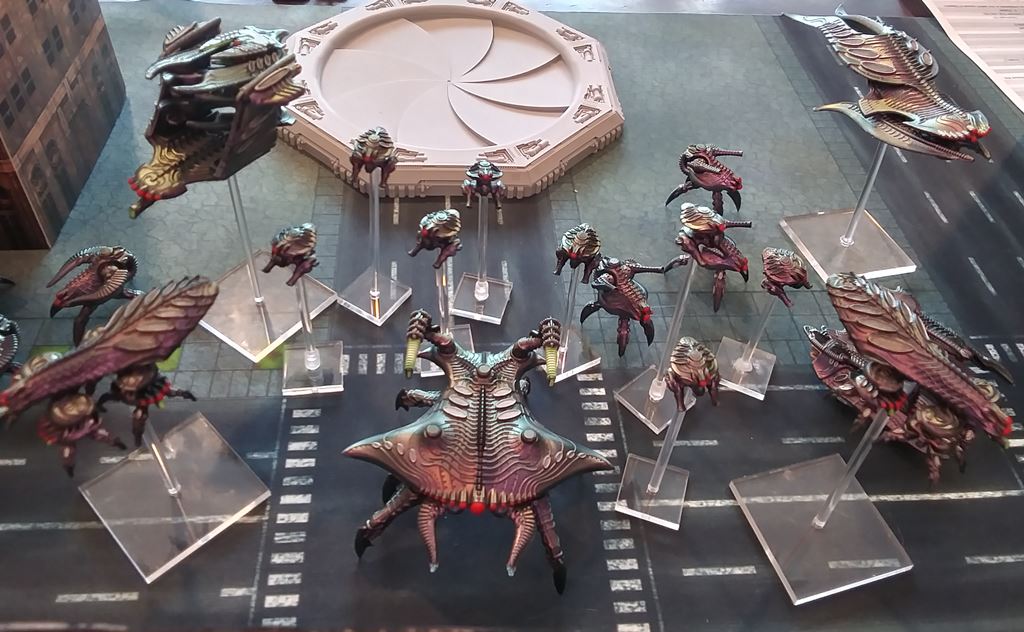
HQ
 1x Oppressor Heavy Walker+ CV4
 4x Emeritus Drones
 4x Emeritus Drones
 1x Savager Laser Barge

Infantry
 4x Prowler Drones + Intruder Dropship
 4x Prowler Drones + Intruder Dropship

Armor
 3x Stalker Main Battle Walkers
 2x Tormentor Acid Tanks + Marauder Dropship
 1x Annihilator Mobile Artillery

Anti-Air
 3x Ravager AA Walkers
 3x Reaper AA Grav-Tanks
 2x Corsair Interceptors
Slyphic: Finally getting some Harbingers prodded me to do some work on my crabs. There's a lot of units I've rarely if ever fielded in this list, and certainly nothing my opponents have seen before. "It'll be like fighting a whole new army!"
The Game
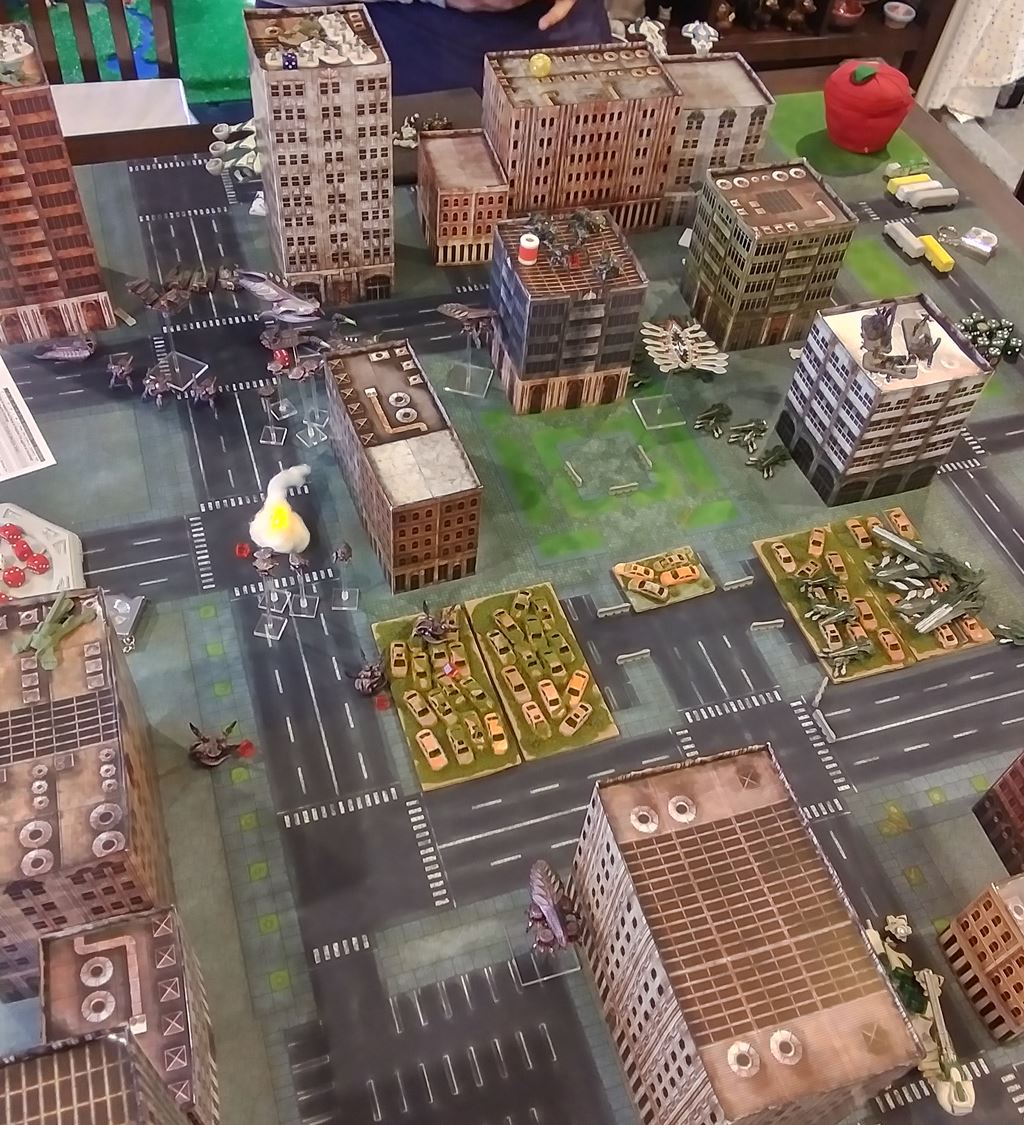
Turn 1 opens with Shaltari laying down a withering hail of hot gauss fire, cutting down an entire squad of Stalker crab tanks and deathly wounding a PHR heavy walker. The sneaky hedgehogs nearly pull off a coup, teleporting an Ion-Spire across the board via AtlAtls into the Scourge deployment zone, but concentrated fire wins out before it can discharge.
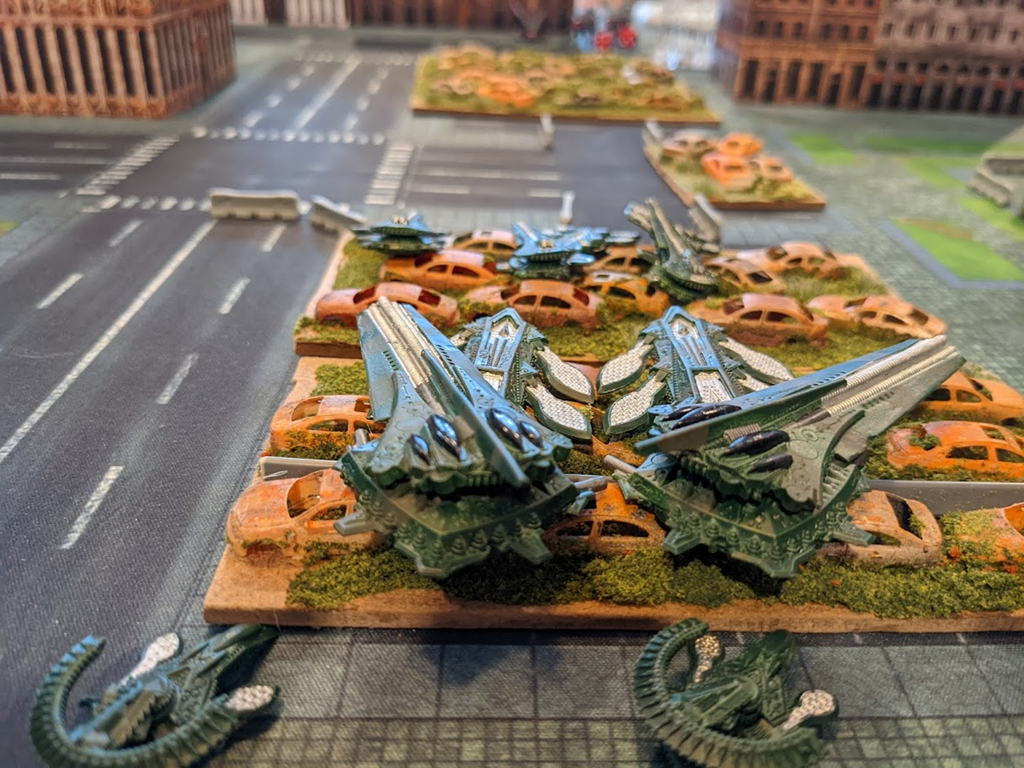
This heavy grav-tank battlegroup would hold the middle of the table for the entire game, daring anything to approach.
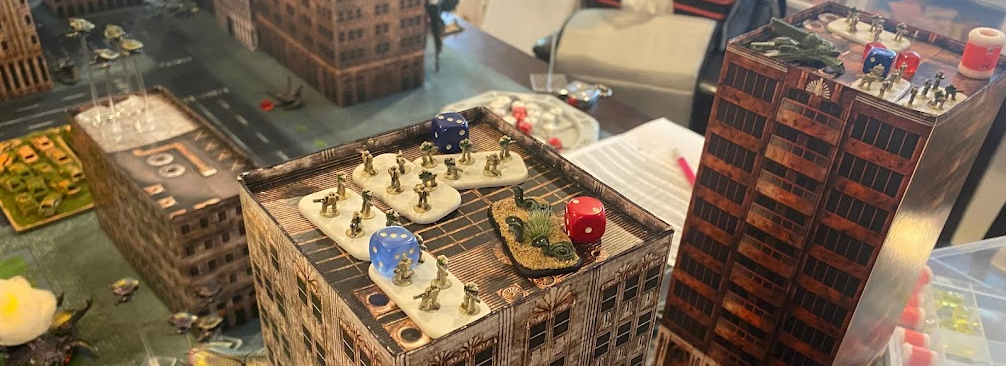
Immortals welcome the Acid-pump tanks party favors of 6 chainsaw mouthed giant snakes with open arms.
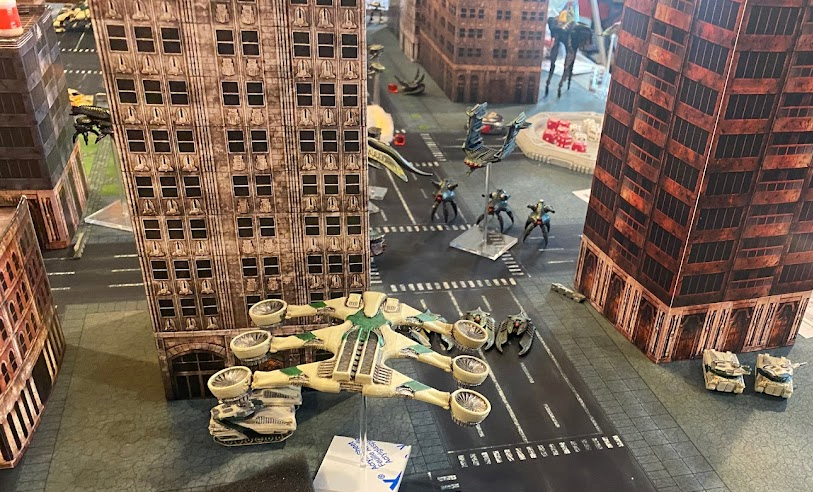
The Njord prepares to fly directly into a double line of Ravager flak and Reaper arc-fire. A11 and DP6 goes a long ways. "I've still got 1DP left, you bastards" is a hallmark of the PHR.
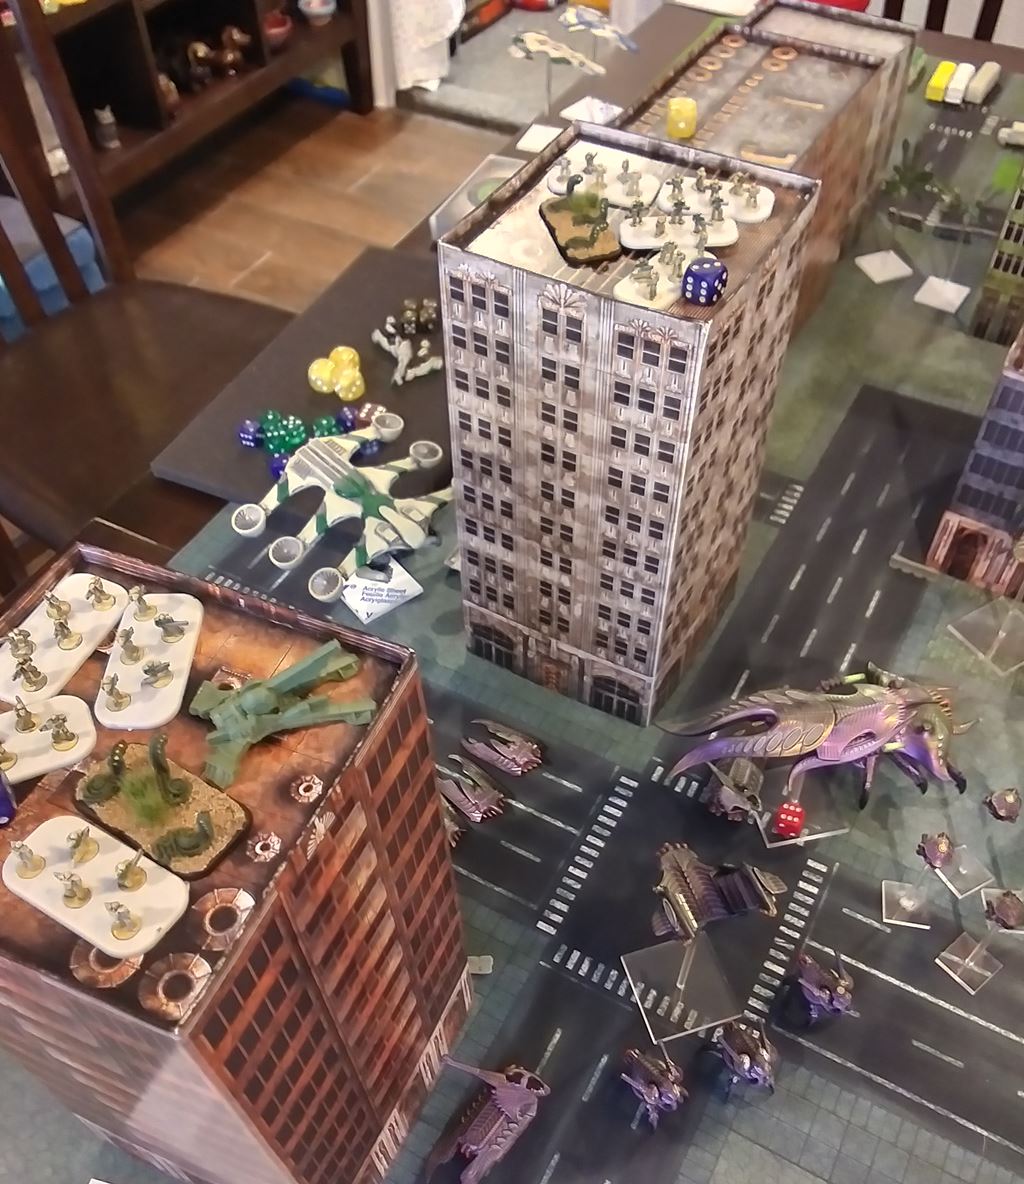
You can just make out the acid-pump Slayers (nee Tormentors) gleefully nozzled up to the buildings, amidst the rest of the bulk of the Scourge forces.
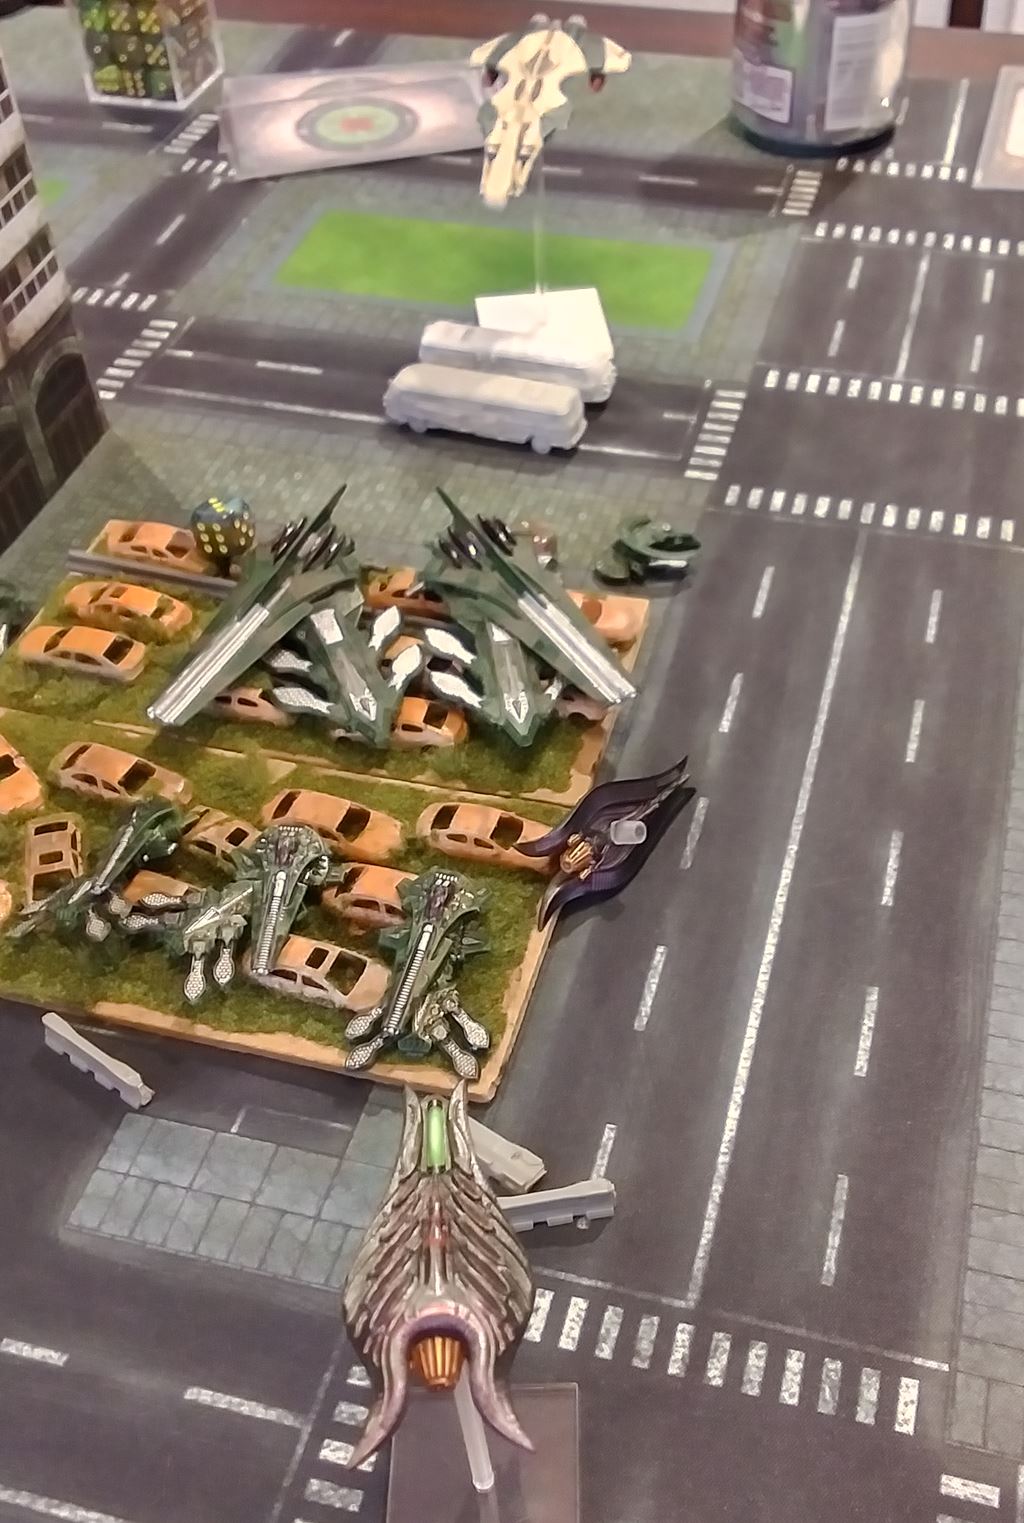
Turn 2 sees a head-on dogfight between an Athena and a wing of Corsairs, with one casualty already plowed into the pavement.
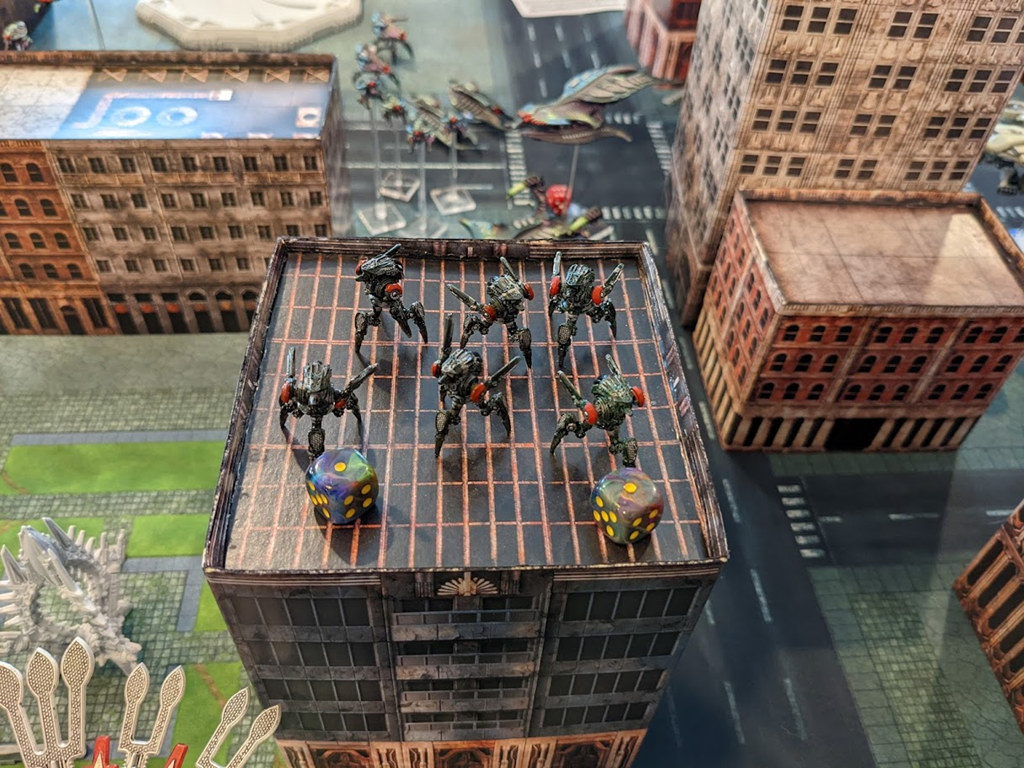
Sheltering in a small building exposes the Ronin's one weakness; being trapped under kilotons of rubble.
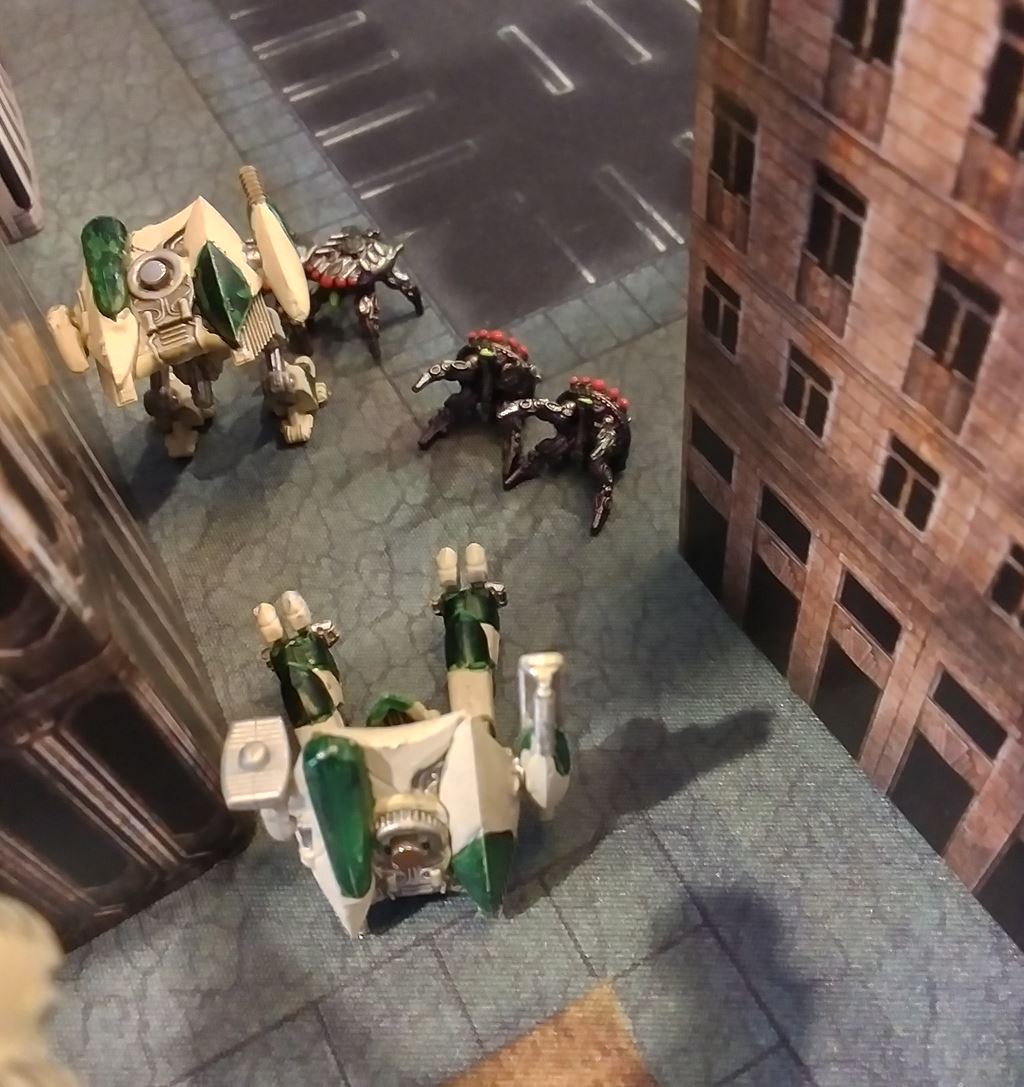
A small walker fight in an alley way, a Phobos shoots down an Intruder full of Prowlers, two of them scurry out of the burning wreckage to pump the Ares full of hot plasmay goodness. And then perform their signature victory pose.
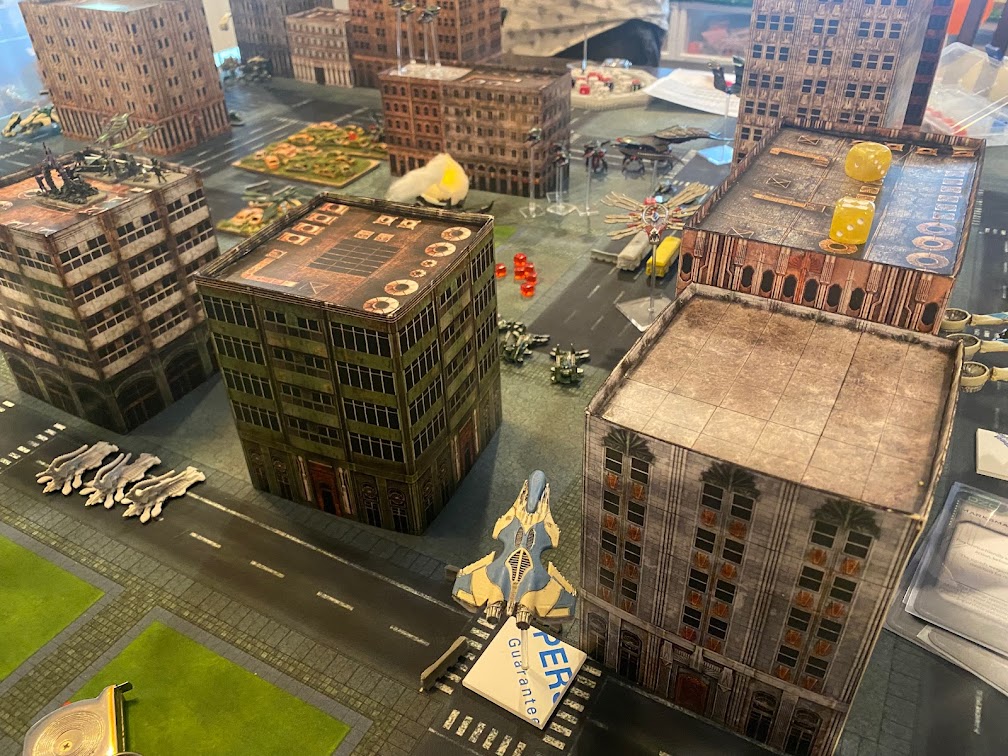
Another Athena, shooting down the road and dropping a building onto Ronin.
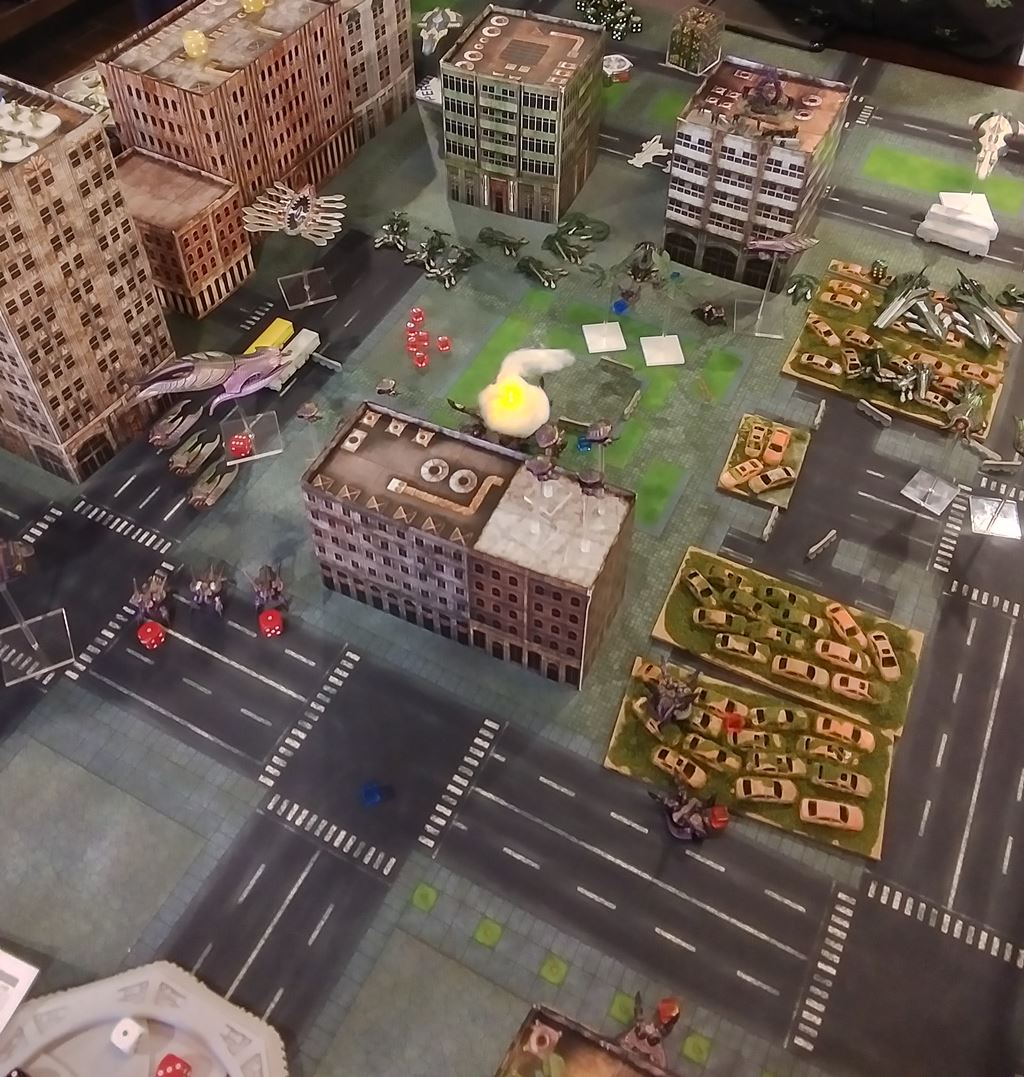
The end of Turn 2 saw the game reach an equilibrium, the Scourge holding their back half of the table and suffering extensive casualties.
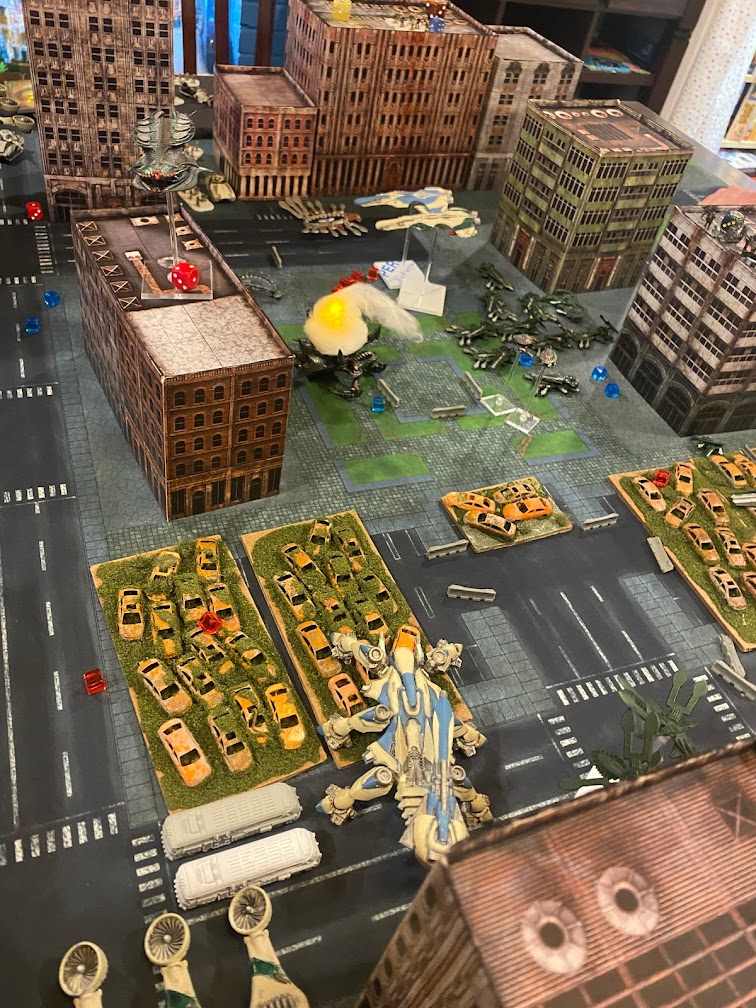
We had to call the game at Turn 4 due to dinner and other game plans (King's Dilemma is fun, if a bit vague at the opening).
After Action Reports
Ty: Scenario is fun in concept but needs major overhauls. The bomb buses need to be able to threaten the objective much sooner than in our first game. By end of turn 2 it felt obvious Tree would not be able to destroy the bunker, and that is including Shaltari teleportation nonsense. In terms of our 3 player scenarios, though, the attacker v defender v scavenger model, seems fun and balanced, so that was nice.
Ty: Gameplay Analysis
The Good– This is the first game we have played as a group where I feel PHR won definitively; I only lost about 200 pts worth of models by the time the game was called, and I had ample time and units to claim the necessary objectives. The Athena is, far and away, the best fast mover in the game; even when adjusted for its high point cost.
The Bad – I need (desperately) to stop deploying infantry need Slyphic’s GD flame tanks. It is complete absent mindedness on my part, and it has happened 3+ times. Additionally, I decided not to fire at Slyphic’s AA forces turn 1 (hoping he would focus attention on the attacking Shaltari). This was a big error that nearly cost me my Njord.
As for the front with Tree, deploying my Command Scorpion in the open may have a bad choice; I had ample room to tuck it behind a building until its activation. I was fortunate (in terms of dice rolls) to not lose my HQ and Commander in the first Round.
The Others – Given the scenario, I don’t think Tree had much of a chance. He would have needed to full rush the objective to bring it within range of his heavy guns, and frankly that isn’t his play style. Between this and building a building dropped on his Ronin, I am sure he felt somewhat hamstrung. That being said, the teleportation tanks are 100% a problem, and I was fortunate not to have to deal with them directly.
Slyphic defended, more or less, the same way I would have. His forward sorties seemed to keep Tree from advancing towards the bunker objective. However, including his HQ in the Vanguard attack cost him his Commander from Turn 2 onward; which felt unnecessary. Which is a shame, because the Giant Crab is, by far, my favorite Scourge model.
Tree: Scenario Analysis
Looking at this as a very rough draft test game. I knew that stat lines for the bomb transports would need to be altered from stock bomb buses, and now I know the most critical change will need to be the speed of the busses. Even using average teleport rolls the busses took 3+ turns to reach the target and the goal should be pressure starting from the end of the second turn. The defender turrets and bunker placement will also need rules passes, but working on bus tweaks is my primary focus. Army deployment rules worked out well as all three forces had reasons to engage and the fighting was not concentrated on one area.
Gameplay Analysis
Letting that scorpion HQ live was a mistake. It never bothered my armour units again, but it did cost me some turn order placement in a few rounds. The Ionspire never got to fire but I feel like it made it self a concern and in other scenarios it will be in interesting bit of chaos. The reach of the gauss guns means I don’t have to move my skimmers often, which still feels odd considering their incredible speed. At one point I was too distracted by the scenario and moved my Ronin into a damaged building. I already learned this lesson once, but Ronin should always leave any building that has received damage to avoid being killed by a collapse. Evasion and passive saves still carry the army, and it’ll take some bullying before I massing up walker units.
Yeah the way rules are written a building falling on Ronin is extra deadly. Each unit in a collapsing building will take like d3 e10 auto hits, and each Ronin model is a unit
Slyphic: Ditto pretty much all the scenario feedback. The biggest mistake is one I made before the game even started. I took the Emeritus without transports, deployed around the Oppressor, thinking they'd act as a back line defense, but the 'line' never moved that far, and they move so terribly slowly they rarely had a choice other than attempt to engage the closest enemy. And not a single one got a chance to blow itself up. I played the scenario, didn't let anything get near the bunker and take out the PHR transports to neutralize point scoring, and both worked phenomenally well, which was a nice change of pace for me. Seriously though Ty, stop throwing your infantry into my Tormentors.