Dropfleet Battle Reports, UCM vs PHR, Beach Weekend
2022-04-11
Dropfleet Commander /
DFC UCM /
DFC PHR /
Battle Report /
Spaceships /
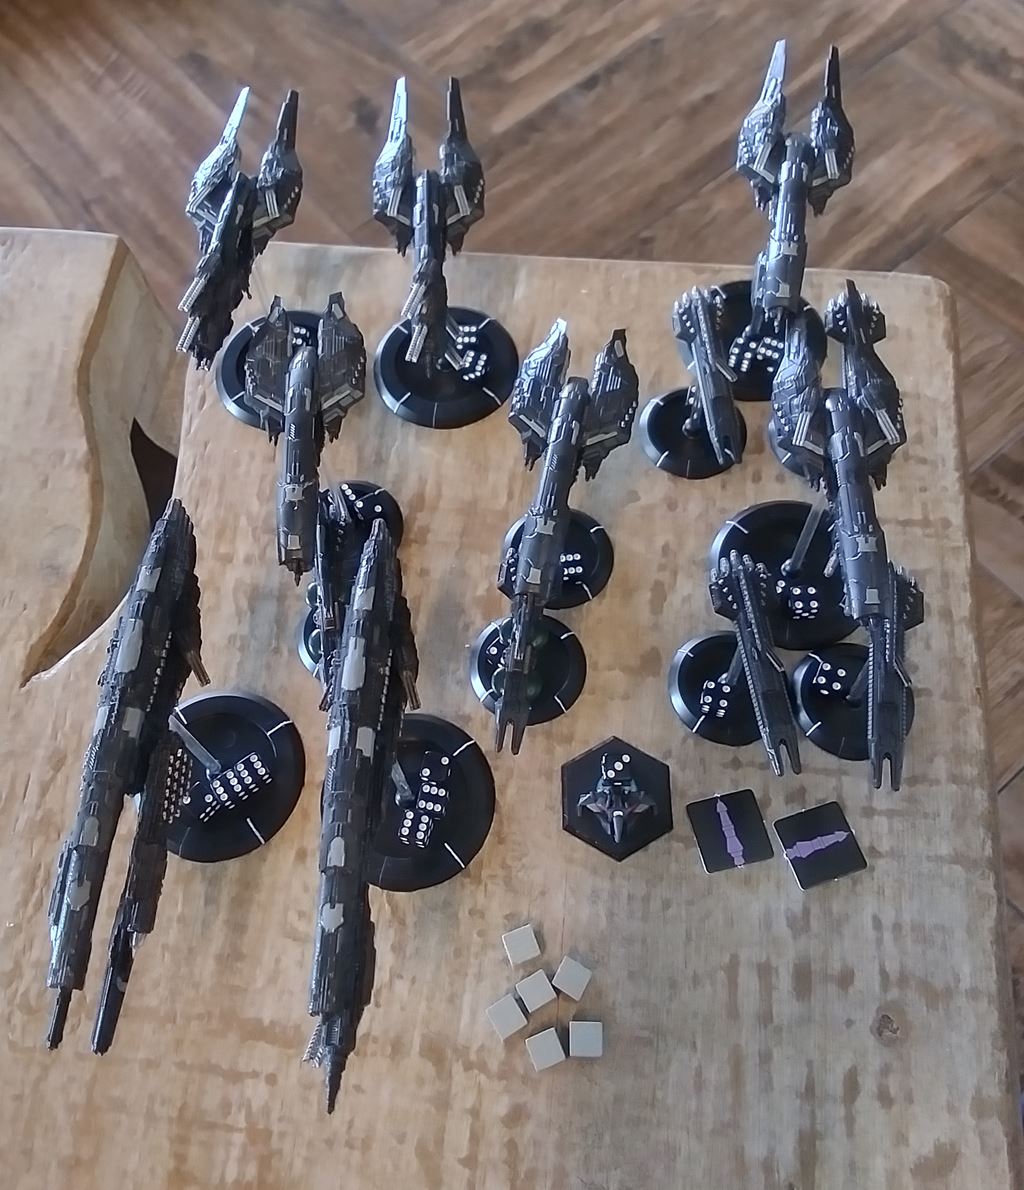
Vanguard Battlegroup Alpha (SR:20)
 Johannesburg class Battlecruier
 Rome class Heavy Torpedo Battlecruiser + AV:3 Admiral

Vanguard Battlegroup Bravo (SR:20)
 Moscow class Heavy Mass Driver Cruiser
 Moscow class Heavy Mass Driver Cruiser

Line Battlegroup Charlie (SR:12)
 2x New Cairo class Light Laser Cruisers
 2x Lima Detector Frigates

Pathfinder Battlegroup Echo (SR:7)
 New Orleans class Strike Carrier
 New Orleans class Strike Carrier
 San Francisco class Troopship

Pathfinder Battlegroup Echo (SR:7)
 New Orleans class Strike Carrier
 New Orleans class Strike Carrier
 Madrid class Bombardment Cruiser
Slyphic: With the exception of some Jakartas, this is basically everything I have painted on the table. I was particularly excited to get some IRL gametime with the Battlecruisers. The double Moscow VG failed me spectacularly last game, but I've got a much better understanding of how to use it and I don't want to give up on it yet.
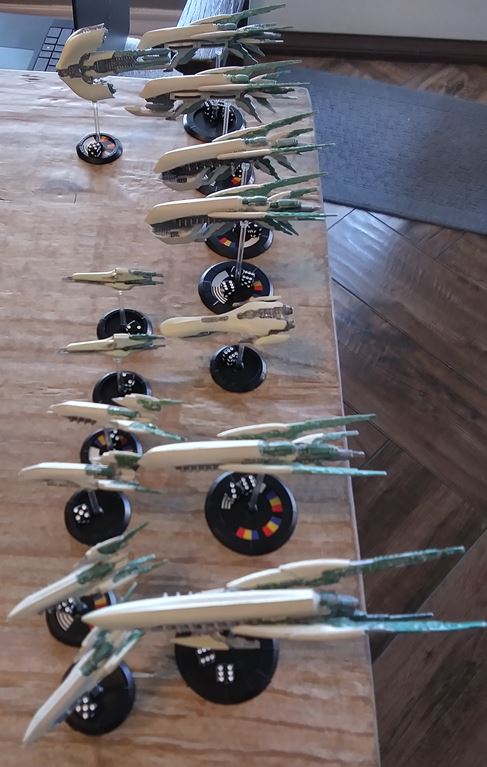
Vanguard Group A (SR 21)
 Bellerophon Heavy Carrier
 Bellerophon Heavy Carrier
 Pollux Escort Frigate

Vanguard Group B (SR 12)
 Agamemnon Battle Cruiser – AV4 Admiral
 2x Europa Frigate

Line Battlegroup (SR 10)
 Orpheus Strike Carrier
 Ganymede Strike Carrier

Pathfinder Group A (SR 4)
 Ariadne Destroyer
 2x Echo Corvette

Pathfinder Group B (SR 7)
 Theseus Light Cruiser
 2x Medea Strike Carrier
Ty: Ty – Pretty standard PHR list from what I can tell. General plan is to send the Agamemnon and Europas into the enemy side of the board as fast as possible in order to, hopefully, slow their advance and allow my bulk landers to…land in bulk. Use the Bells to concentrate bombers on high value targets. Also wanted to try out the Monitors; if only because they look so damn cool.
House Rules in Use
The usual houserules about ground combat and torpedoes.
Game 1, 1250pts, 'Take & Hold'
Considering the number of things we got wrong in our most recent game, we decided to go back to the first scenario and see if we could just play less wrong. No debris fields was somewhat purposeful, but also somewhat laziness.
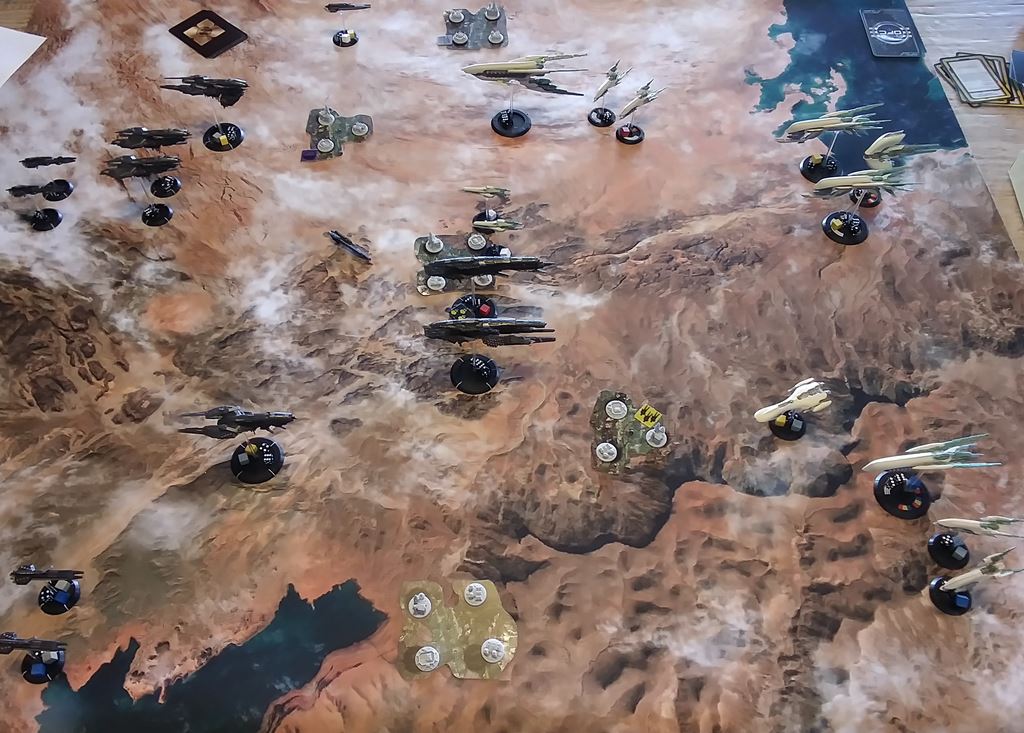
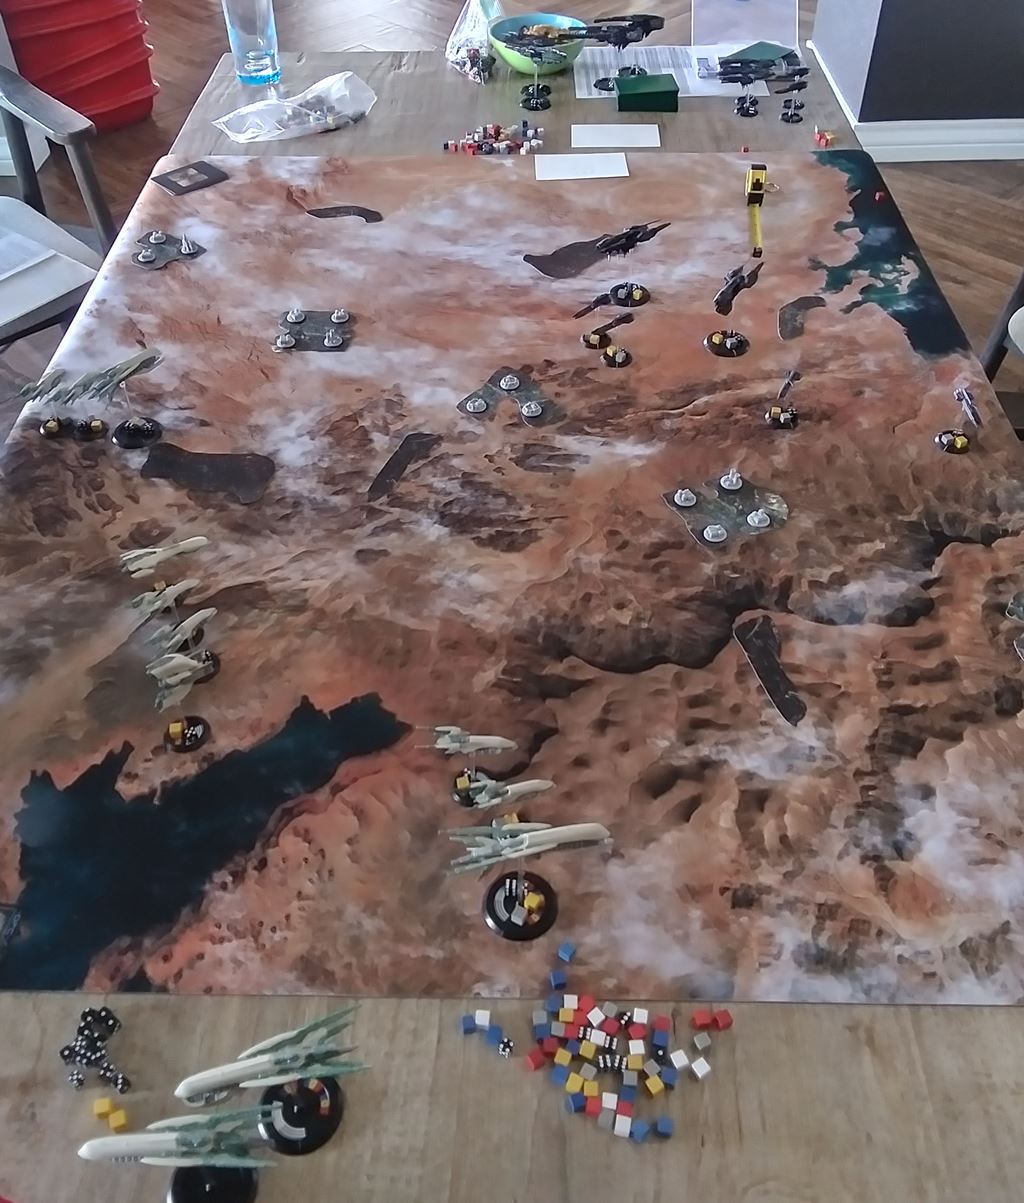
I opened with my BC group down the middle and my bulk lander pathfinder group headed towards my near cluster with the strike carriers splitting off towards the top and middle. Turn 2 I brought on my team of Limas and New Cairos, and sent the Madrid and last two New Orleans towards the far cluster. Moscows would be last on the table in turn 3.
Ty brought on his Agamemnon, Ariadne and Echos turn 1, with the intent to drive deep with the Battlecruiser maximize the broadsides, cutting between oncoming waves, and the Echoes wanted to get deep and low early to hunt for overeager strike carriers. The Bellerephons and Medeas plus Theseus came on turn 2, leaving the bulk landers til last, probably because of my comment that the Romes torpedoes were named Ganymede and Orpheus.
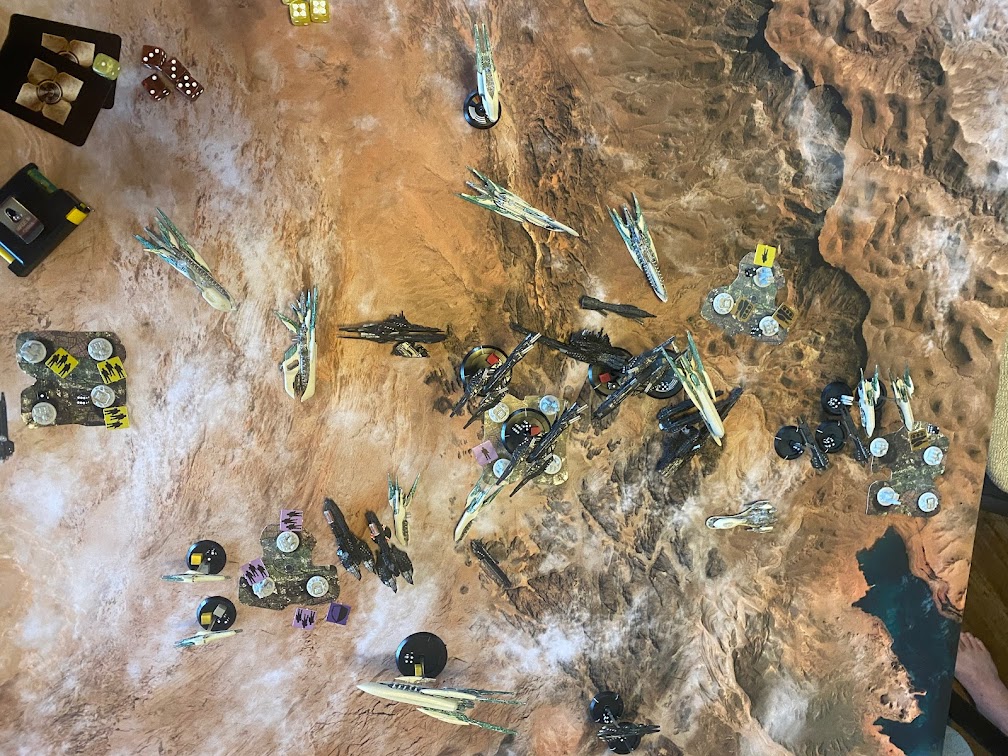
Game ends on a VP tie, 19-19.
Pivotal Moments
Echoes scored a very early kill of a New Orleans, and then were unable to break out of atmo to get in range of anything else due to a veritable cloud of heavier ships above them that would have shredded them in a single volley.
Rome earned its keep, inflicting critical damage to the bulk landers before dying.
The Moscows despite arriving late more than earned their keep. The law of averages reigns, and they roll enough dice to put ships down, and comprise a lot of weight for sector control.
The Agamemnon was deftly piloted, barely surviving thanks to a hard turn hooking around the board turn 5. The New Cairos tore into it, rolling hot every shot, with the San Fran of all ships landing a single shot to force a critical damage check.
The Madrid didn't win any sectors with bombardment, but it tied up ground asset delivery, lest the numbers get so thin I could snipe the sector.
Game 2, 1250pts, 'Power Grab'
Same UCM fleet as game 1, but I swapped a Perth for the Jo'burg because I wanted to field all the BCs I could, except for the Venice which feels like a paperweight until at least 1500 if not 2000 points.
Pivotal Moments
The Madrid died very early, rolling Reactor Overload and Hull Breach and then dying with a Radiation Burst, completely flummoxing my plans to blow up one of the power stations.
The Rome was downed before it could fire torpedoes on the power stations, again saving the day for the PHR.
The Moscow's sat on a Mass Driver Volley til the last activation of the round when PHR were out of cards, and used those 8 extra dice to down the Ganymede in a single volley of ballistic excess.
Game swung wildly throughout, with the UCM ahead by a substantial margin on Turn 4, but the PHR came from behind to once again perfectly tie up the game in Turn 6.
UCM MVP goes to the Perth, for rolling 6 unsavable damage every time it fired, melting through that thick PHR armor like a hot knife through butter. I heard B5 Shadow beam sound effects every time I rolled.
Mistakes Were Made
The tally of things we got wrong across both games:
-
You can't change orbital layer if you can't turn, like if you're going Weapons Free or Silent Running.
-
We completely forgot about the military sector weapons and didn't fire a single one.
-
I forgot more than once to place a major spike on my Detectors when they Active Scanned, but they spent the whole game driving slowly on an oblique angle at the back of the table, so it probably didn't really matter.
-
I think we both missed a Lock penalty for firing from/to high/low orbit (we got firing into and within atmo correct) at least once looking back on it.
-
We didn't tally killpoints to break the VP tie, but neither of really wanted to.
-
PHR have Fusillade on a lot of Broadside weapons... which we forgot about. That's a lot of unrolled dice.
-
You don't get command cards til your admiral is on the board, so neither of us should have had a hand until turn 2
-
Monitors can't Max Thrust
After Action Reports
Slyphic: The Perth was a delightful surprise. Once you actually calculate the odds, it's incredibly reliable for landing unsavable damage, which against the PHR is a huge assett. The Rome as well I adore. The torpedoes rip ships apart if they hit, and forcing a target to either move out of position or dive through debris or spike itself to evade is fantastically disruptive in a way UCM bombers just aren't. I've finally figured out how to effectively use the Moscows as well.
I really need to get some Santiago Corvettes painted, and I'm curious to try a double Seattle + Jo'burg formation as a supreme generalists core. But before all of that, I need to detail and seal my battleship, even if I don't think it's that great a unit on paper. Seems a little short of Hull.