Heavy Gear Blitz, The South Advances
2022-05-20
Heavy Gear /
Hobby /
Showcase /
HGB South /
10mm-SF /
This all started with my exploration of approximately 10mm SF infantry models. I needed to order something from HGB, I noticed Fortress Miniatures and Games had them in stock (turns out they became an official US storefront/partner with DP9), and thought maybe I could mix in the mechs somehow.
My army box actually had a mis-pack, I had one model in there that wasn't supposed to be, so I used it as a sacrificial test model. And what was an absolute rush job turned out quite alright.
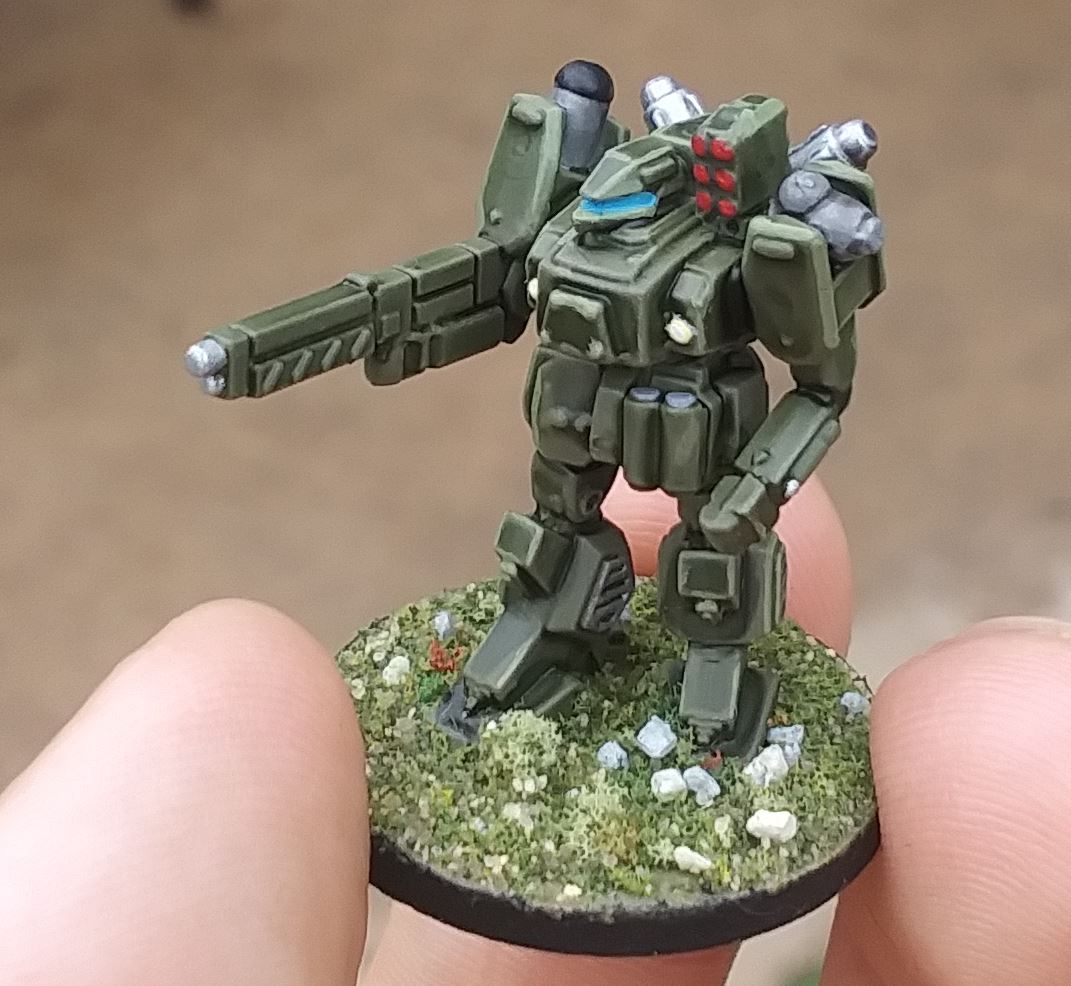
So I thought, why not do the rest. I'm also procrastinating as hard as possible on the Resistance buses. Those scrappy cars suck the life out of me, despite how happy I am with them in the end.
Gears
The basic box and sprues cover most variants, so I just made a wide variety of models that sounded interesting, and a bunch of the most basic gears.
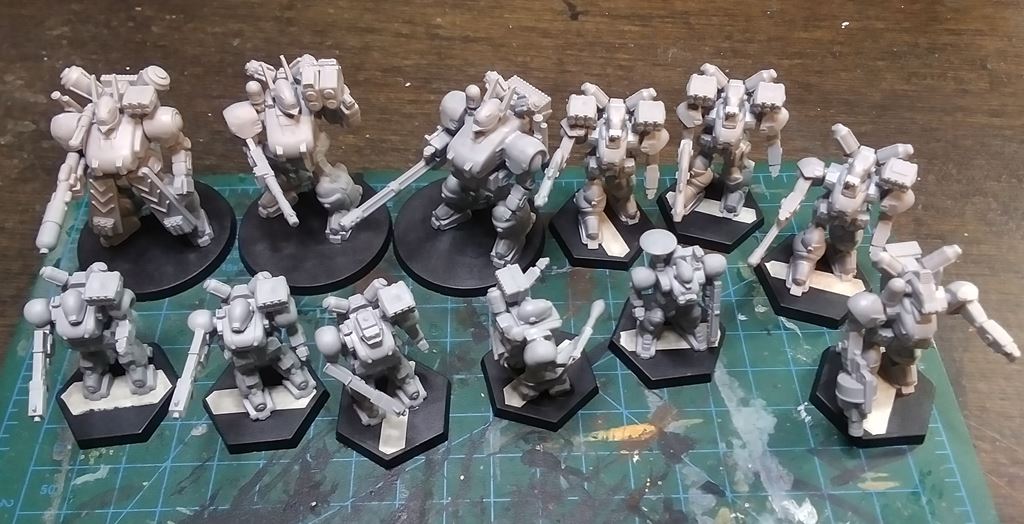
I had to get creative for the Slashing Cobra model, as none of the sprues had Medium Anti-Tank Missiles, only Light. I was going by other things in the book that looked like they had the missile packs. This one is made out of extensively chopped up Heavy Flamers from the Cobra sprue.
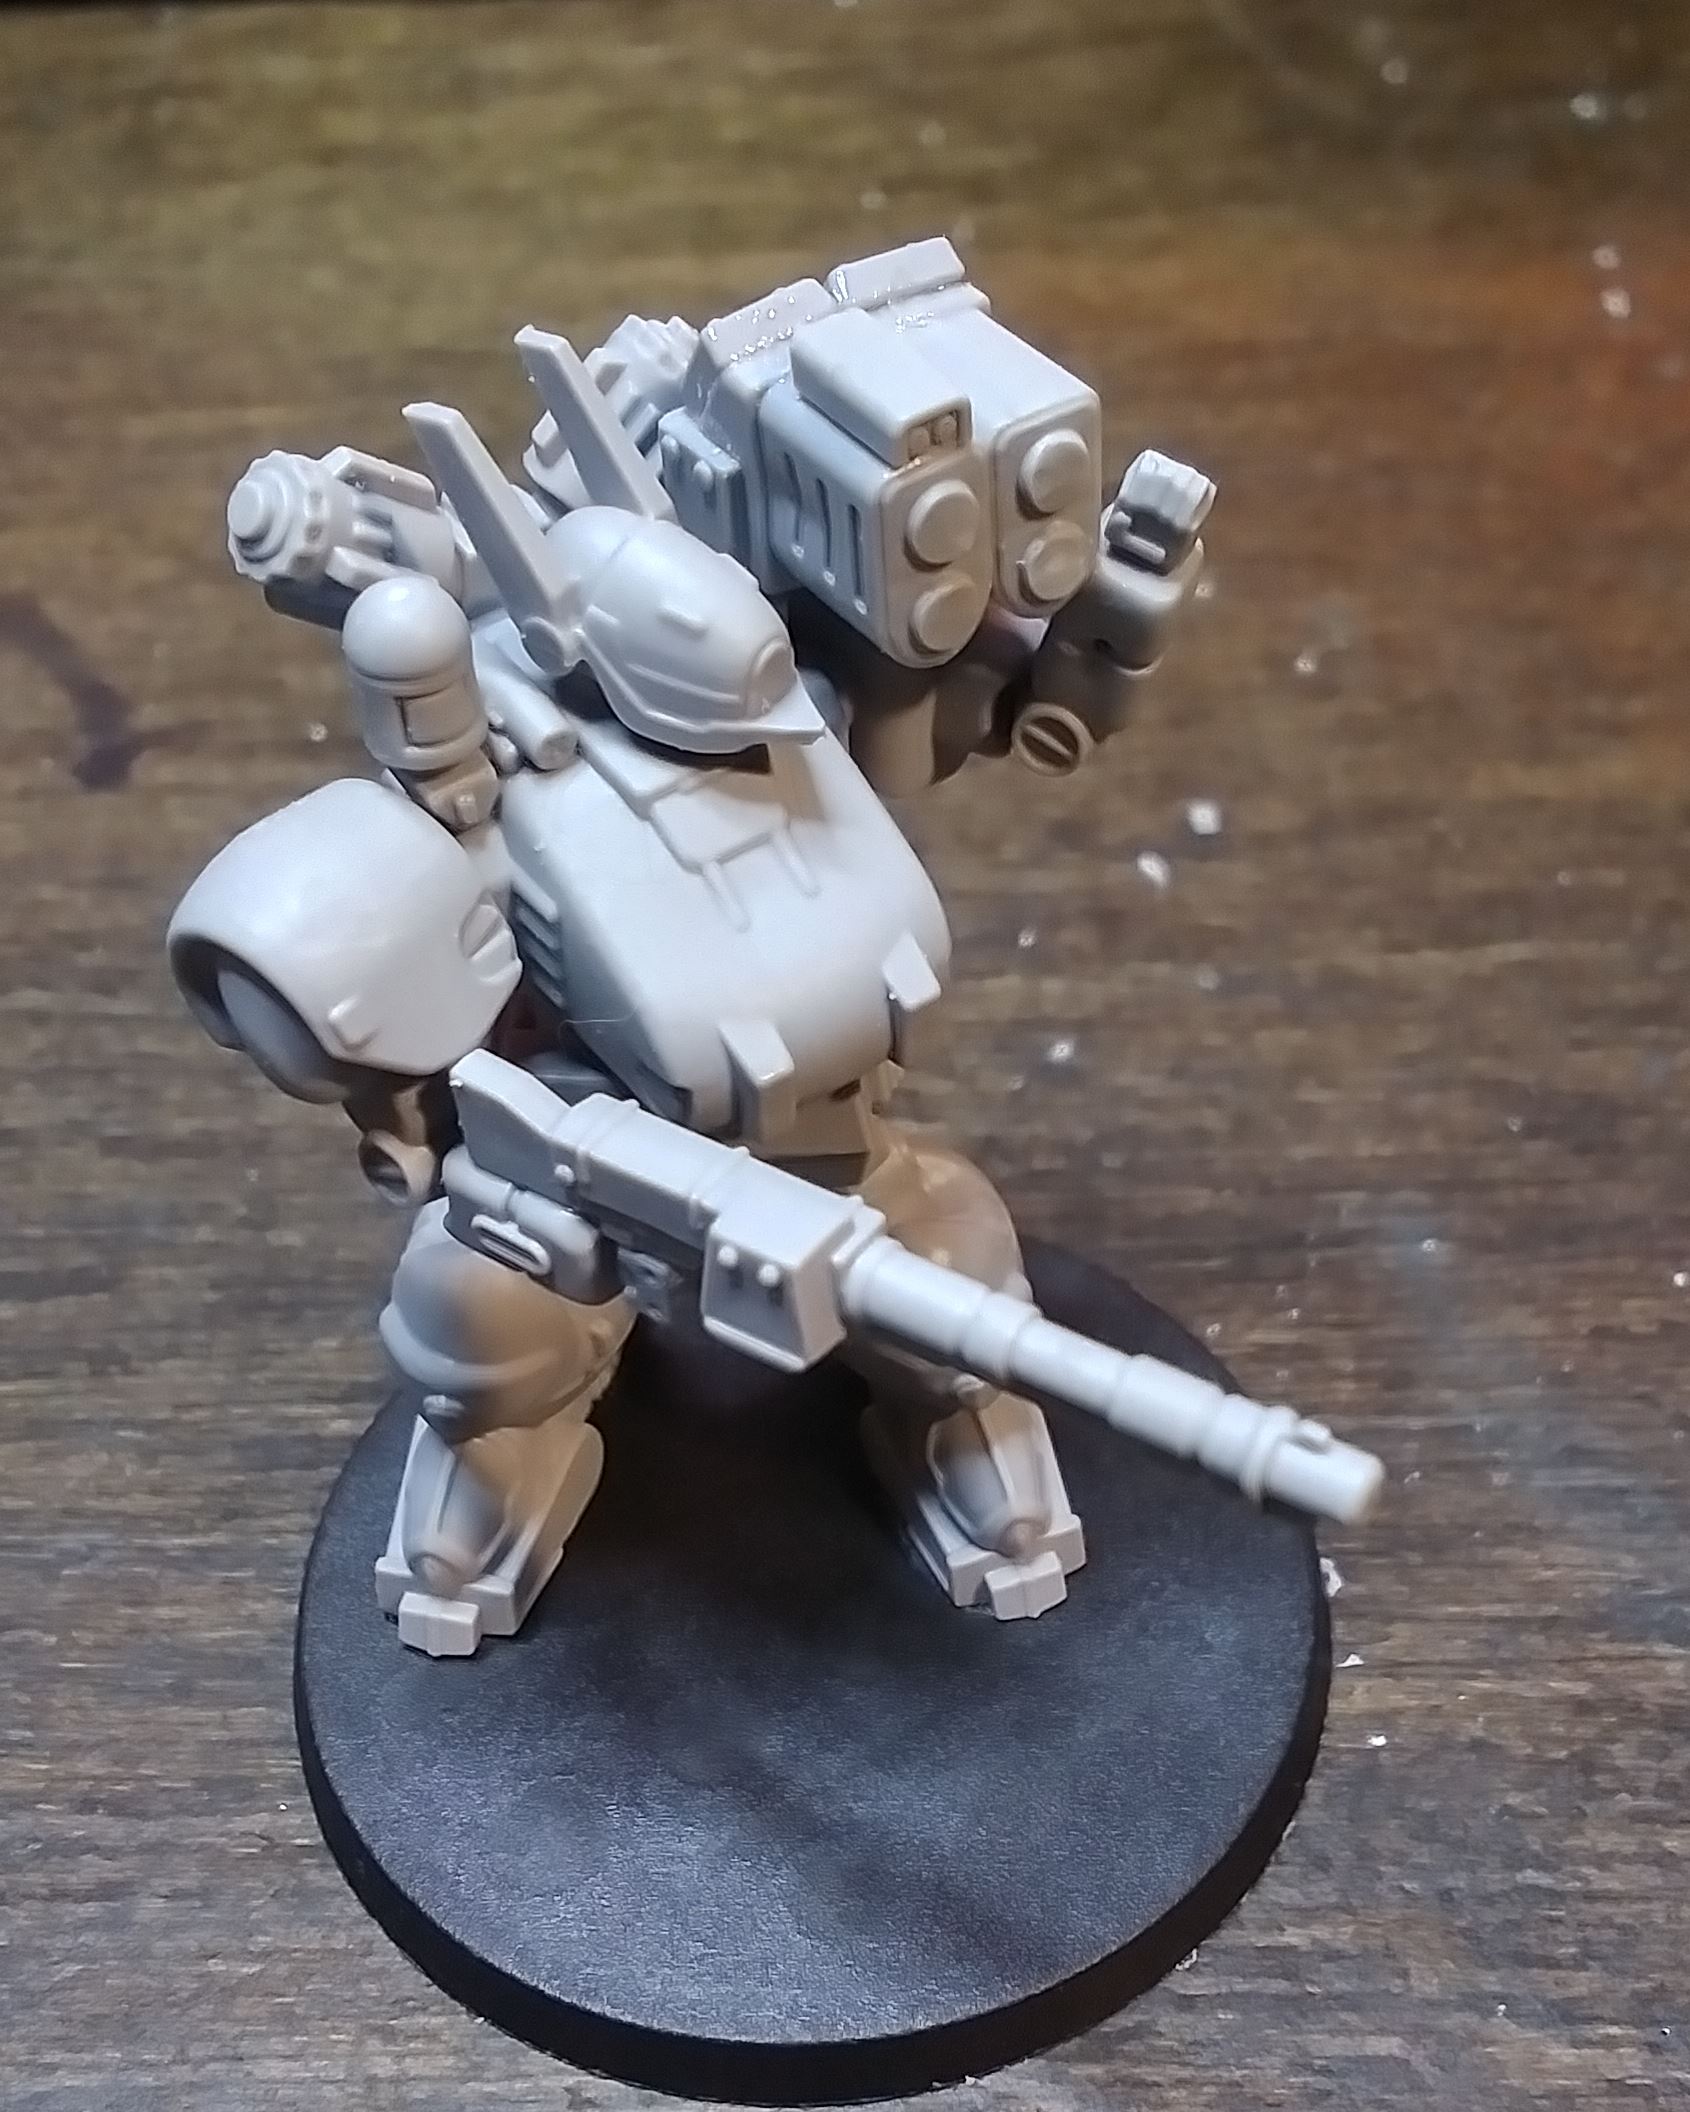
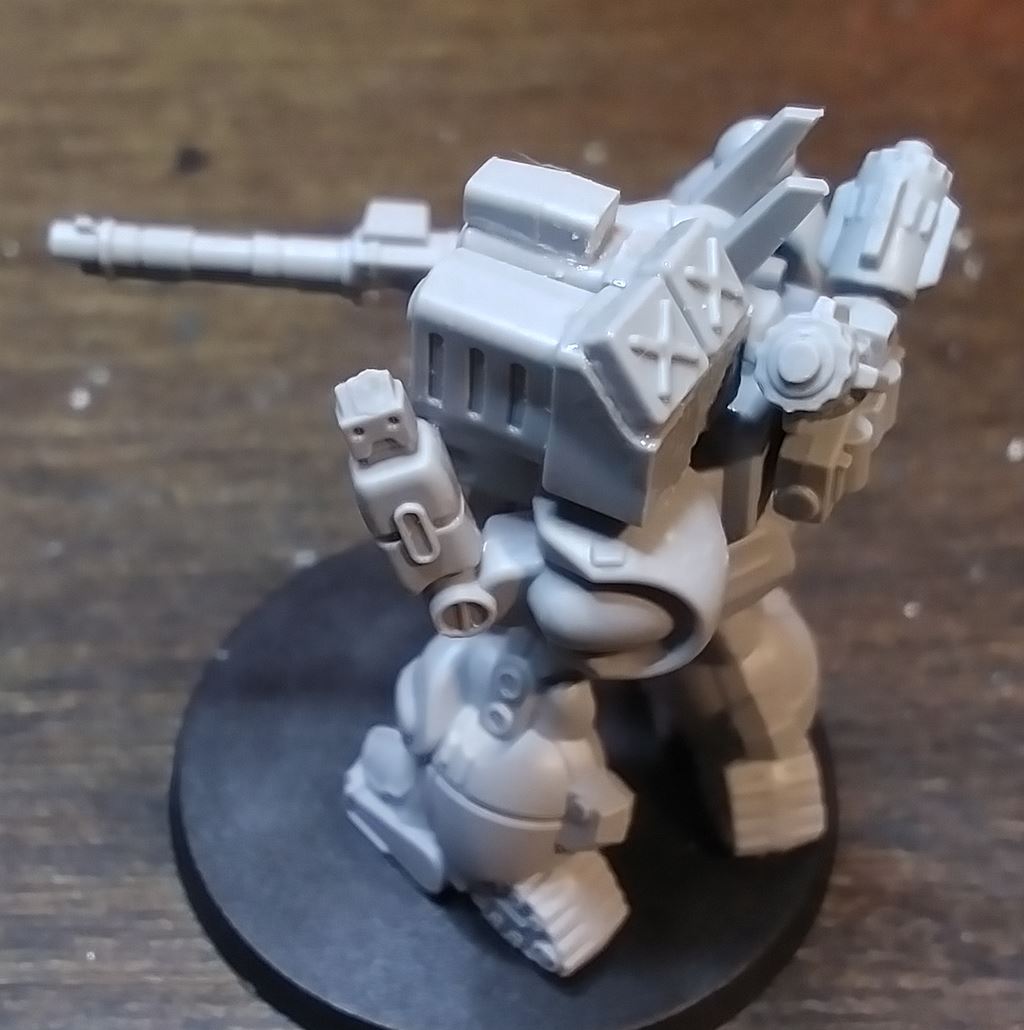
I applied a base coat... and something went horrifically wrong. The test model was fine, and these, the next day at the same temp and humidity, ran and pooled and took forever to set up. There were bubbles in the paint.
I threw the whole lot in the ultrasonic cleaner and left them for a day.
And another day.
And another.
And they still weren't stripped, so I switched solvents, upped the temp, hit them with a toothbrush, and tried again.
And gave them yet another day.
And almost two weeks later, this was the most I could clean them up.
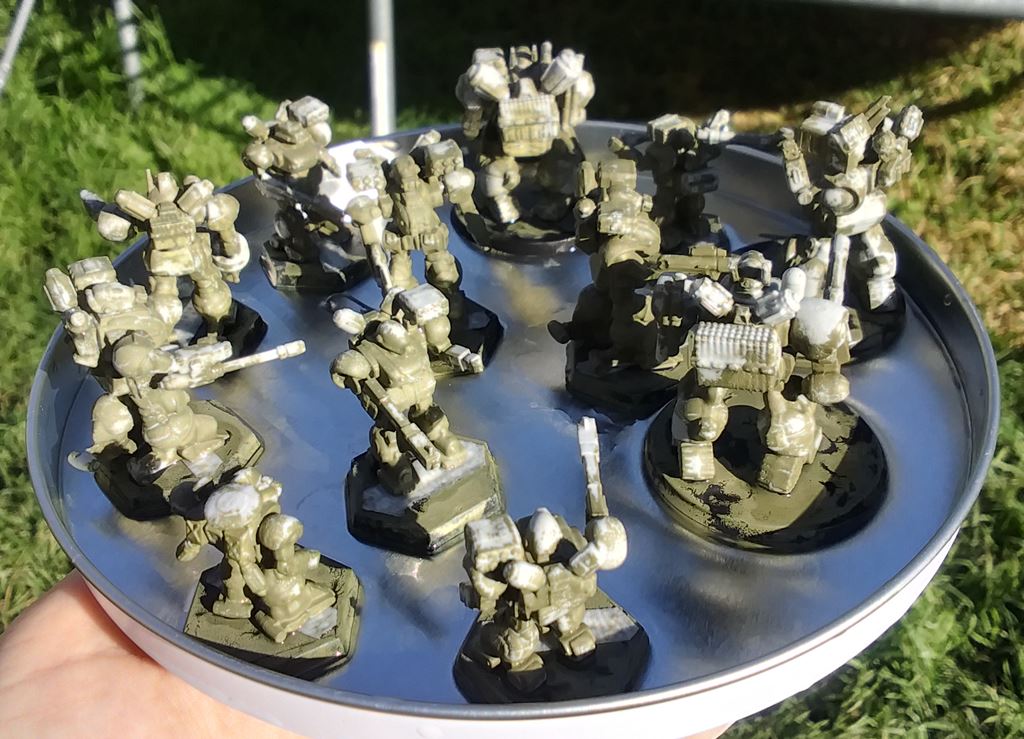
Interestingly, the acquired a surprising realistic roughness to their surface that translates after base coating again into a long-service-life-in-the-military look that I'm OK with. I'm a little worried about replicating it though with further models.
Before I forget, paint process reference:
Base coat of Battlefront 'Colours Of War'/War Paint: Armour Green Spray Paint (I got a couple cans on clearance for a dollar)
AK Green Khaki (4134) is the closest color I have for matching
Army Painter Green Tone wash
AK Graugrun Opt2  (705) edge highlighting
AP Dragon Red for the shoulder base color
AP Red for the shoulder edge highlighting
Vallejo Mecha Light Steel for the metal parts
AP Uniform Grey for the weapons and a few other small detail parts
Homemade black ink wash on the metal and grey parts
AP Electric Blue for the visors/optics with basic white for the lens effect
Base in a mix of fine turf, sand, hobby train gravel and ground up flocking
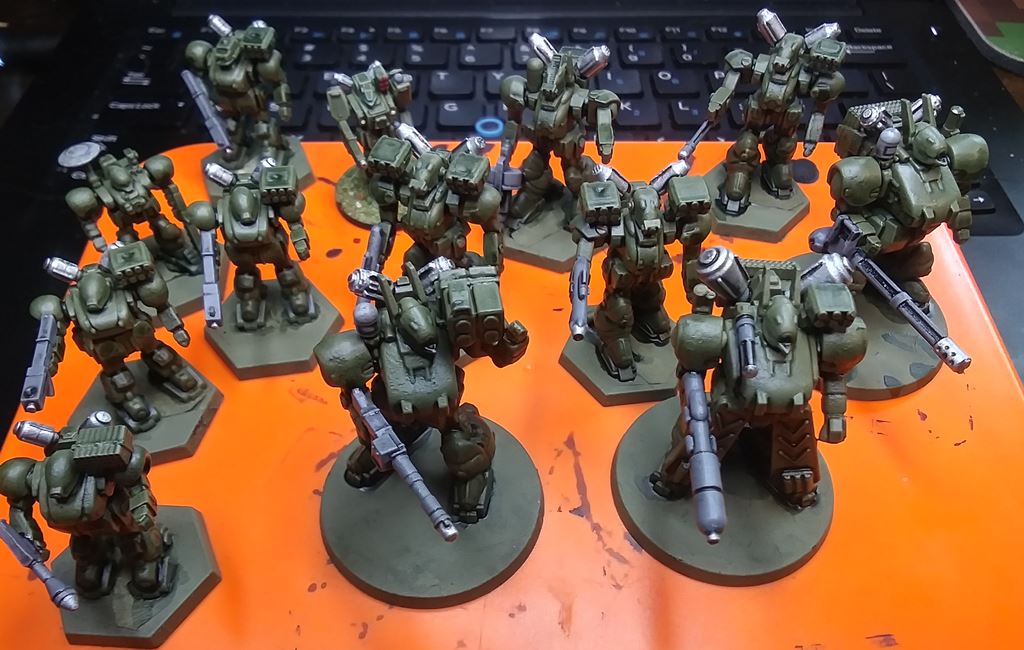
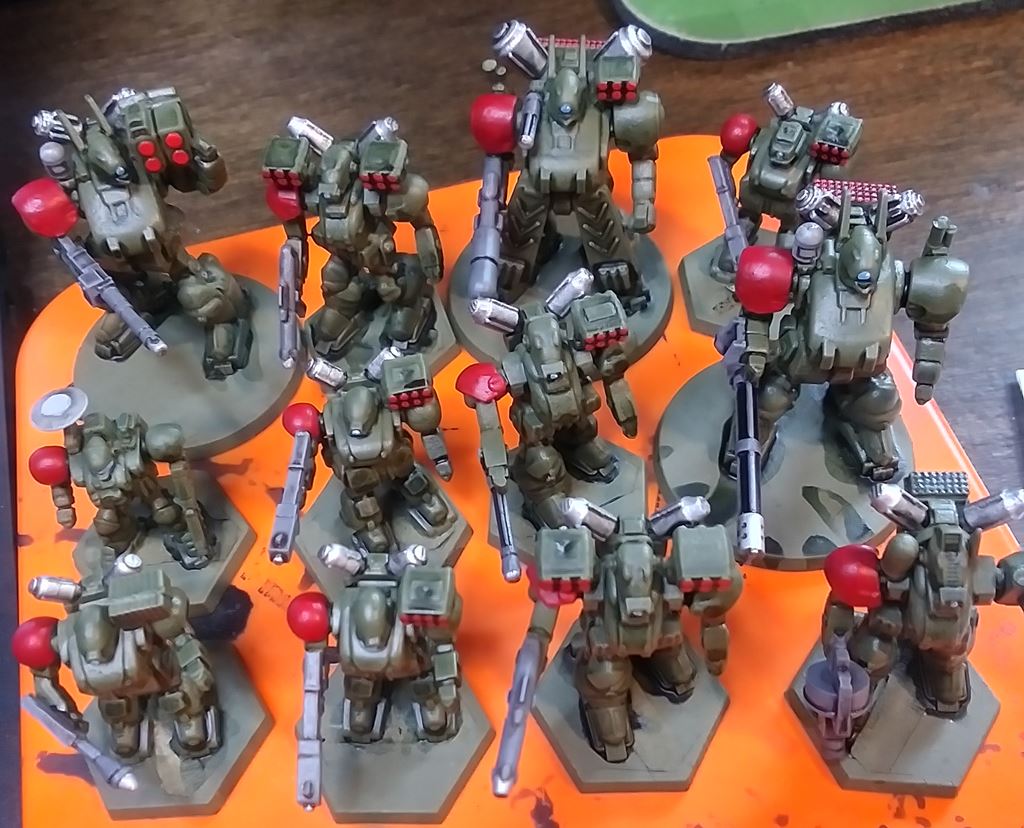
Just green felt a little too bland, so I thought I'd add a little pop of color. A red shoulder, perhaps. It was only days later when someone complimented my Votoms that I realized what I'd done. An accidental homage.
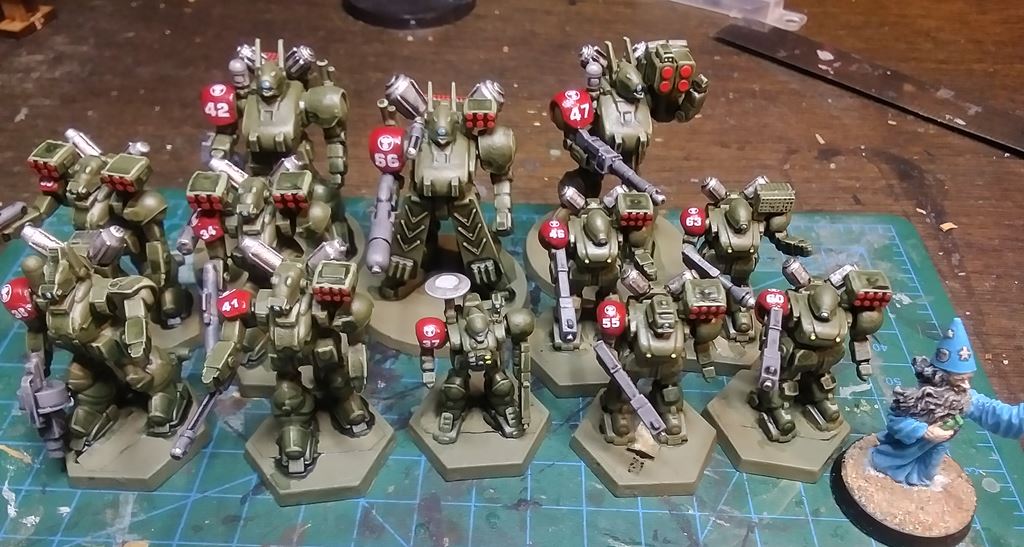
FPG decals finish off the look, block white numbers with DP9 Southern emblems, on the front and back of the shoulder.
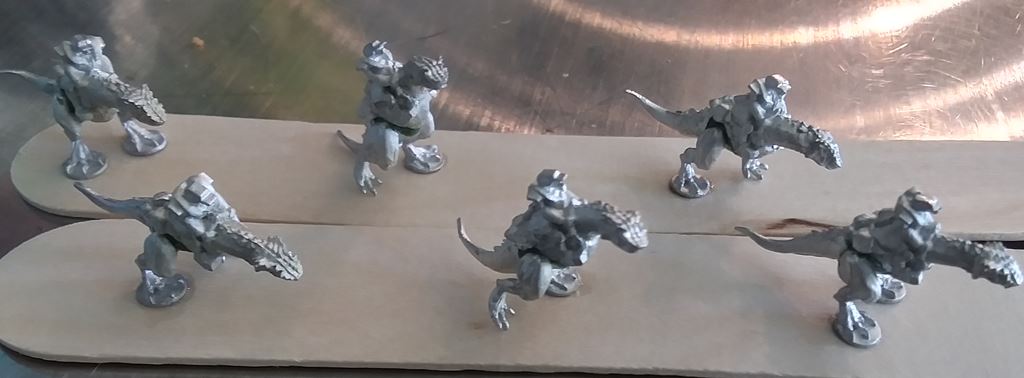
Lizard Cavalry
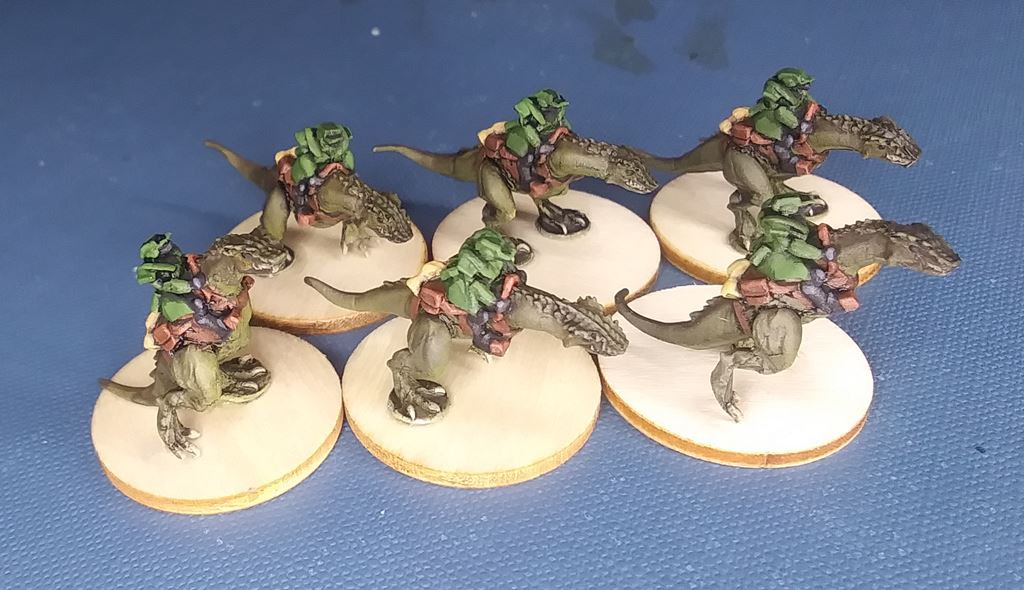
I was originally thinking these would make good alternate models for DZC Freeriders, but they're far too big. They're the size of technicals. I also just wanted to paint some organic pieces for a change.
Green Stuff holding them together and gap-filling.
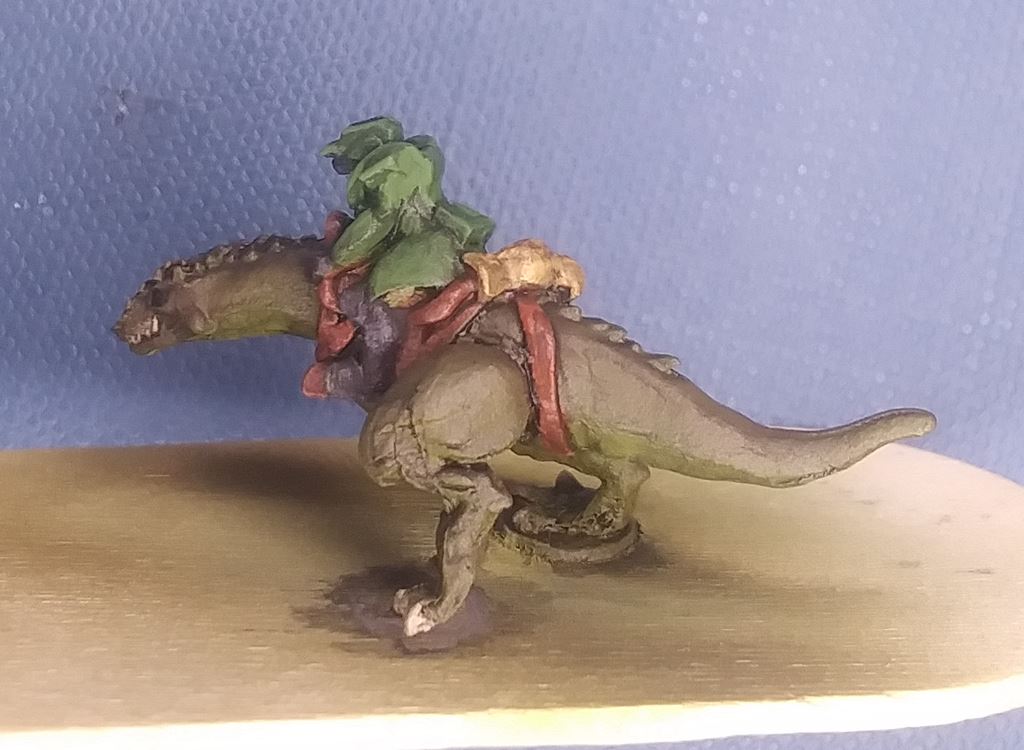
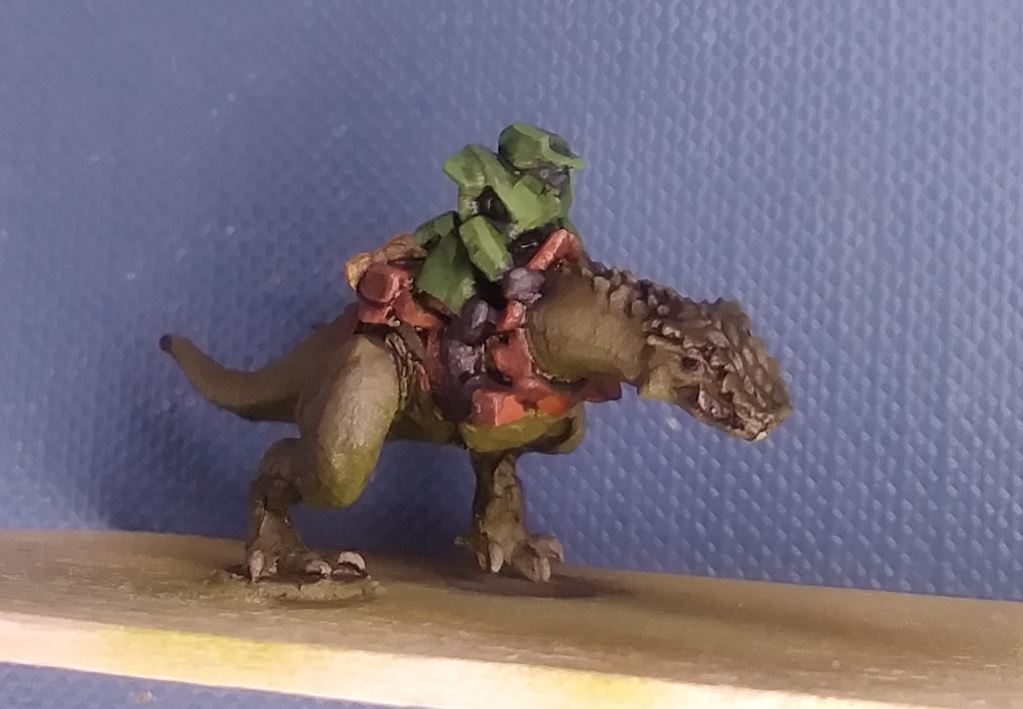
I used a simple airbrush applied gradient from lighter greens on the belly to darker with brown tones on the back

The rest was basic block painting with simple highlights and ink washes. I'm extremely happy with how the lizards turned out, despite a number of jokes about their riders looking like Master Chief.

& A Strider
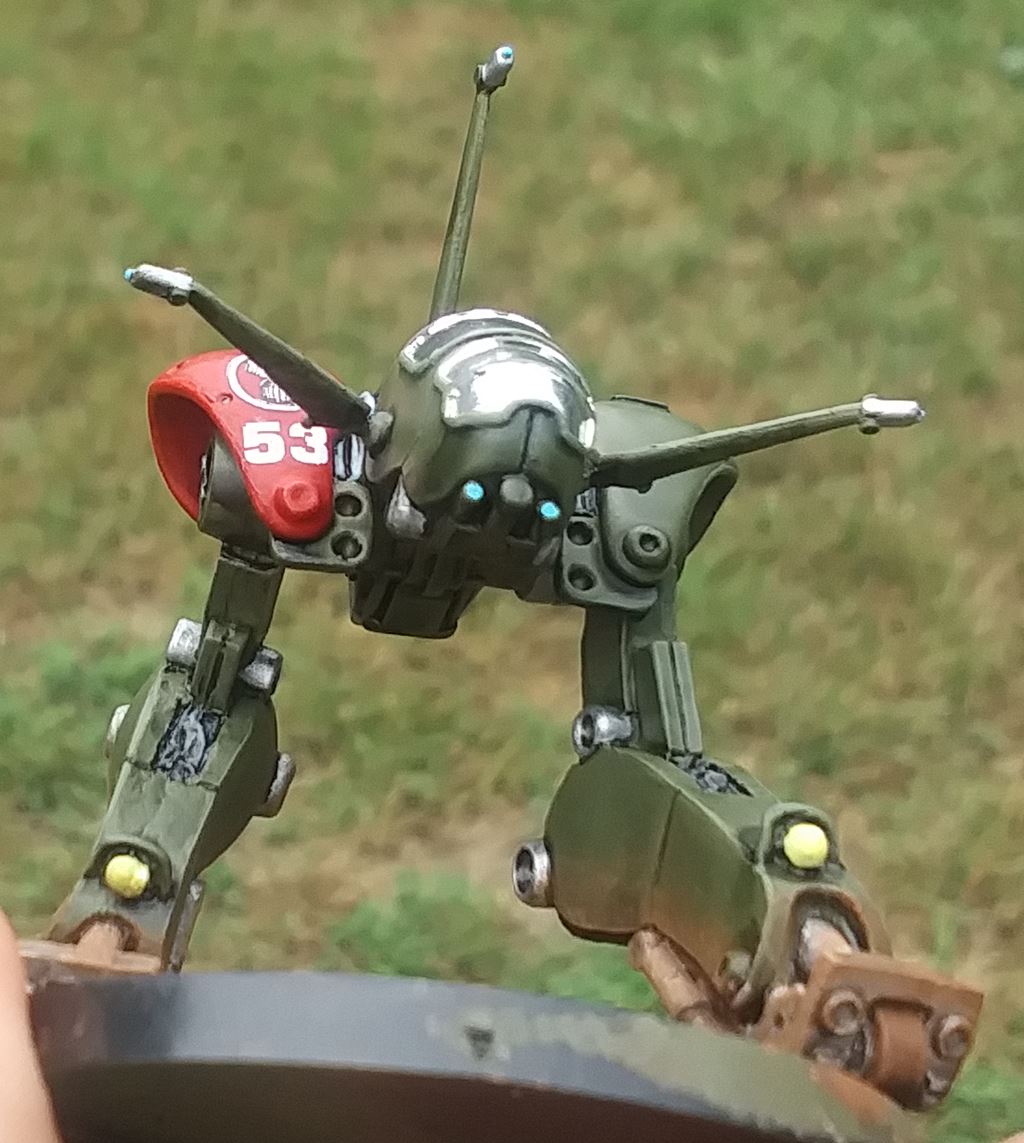
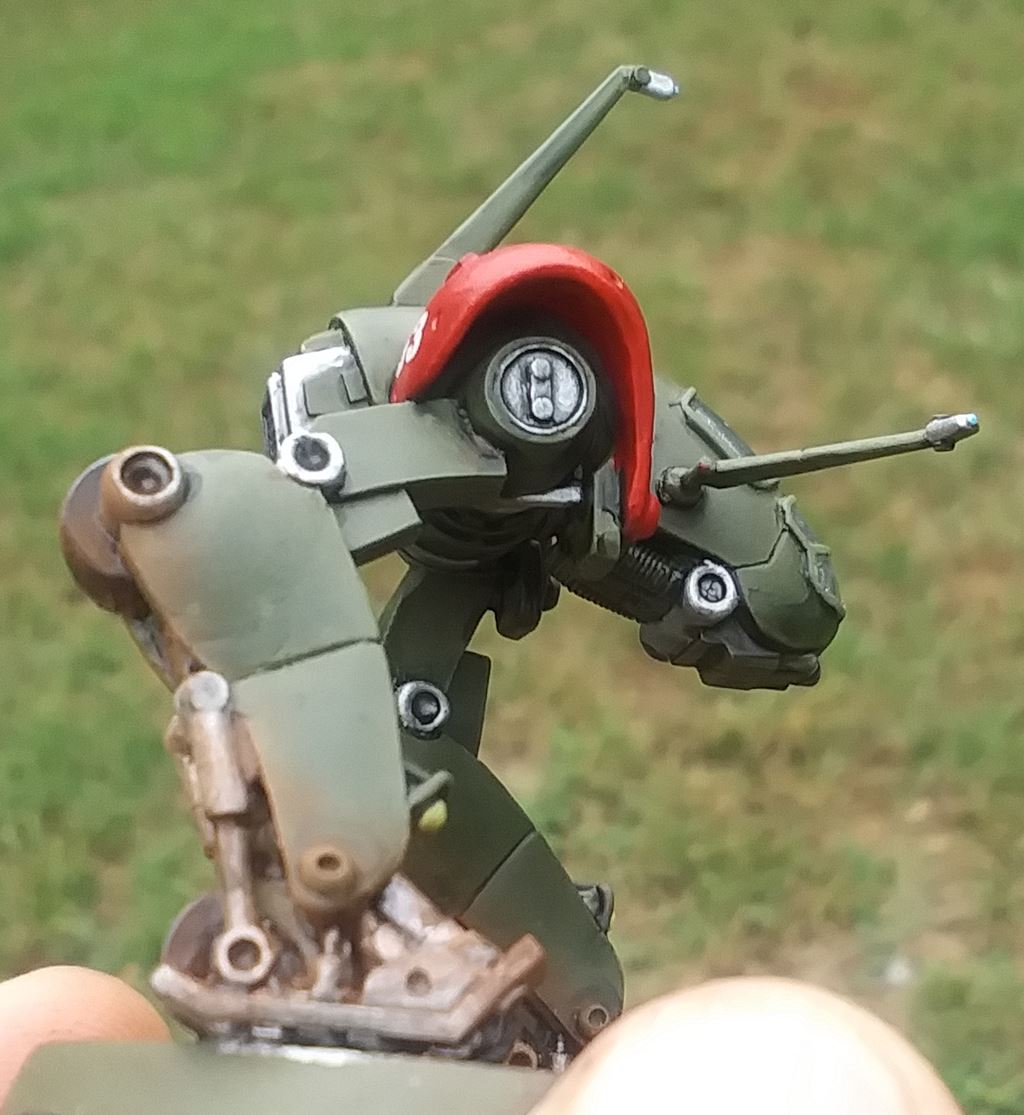
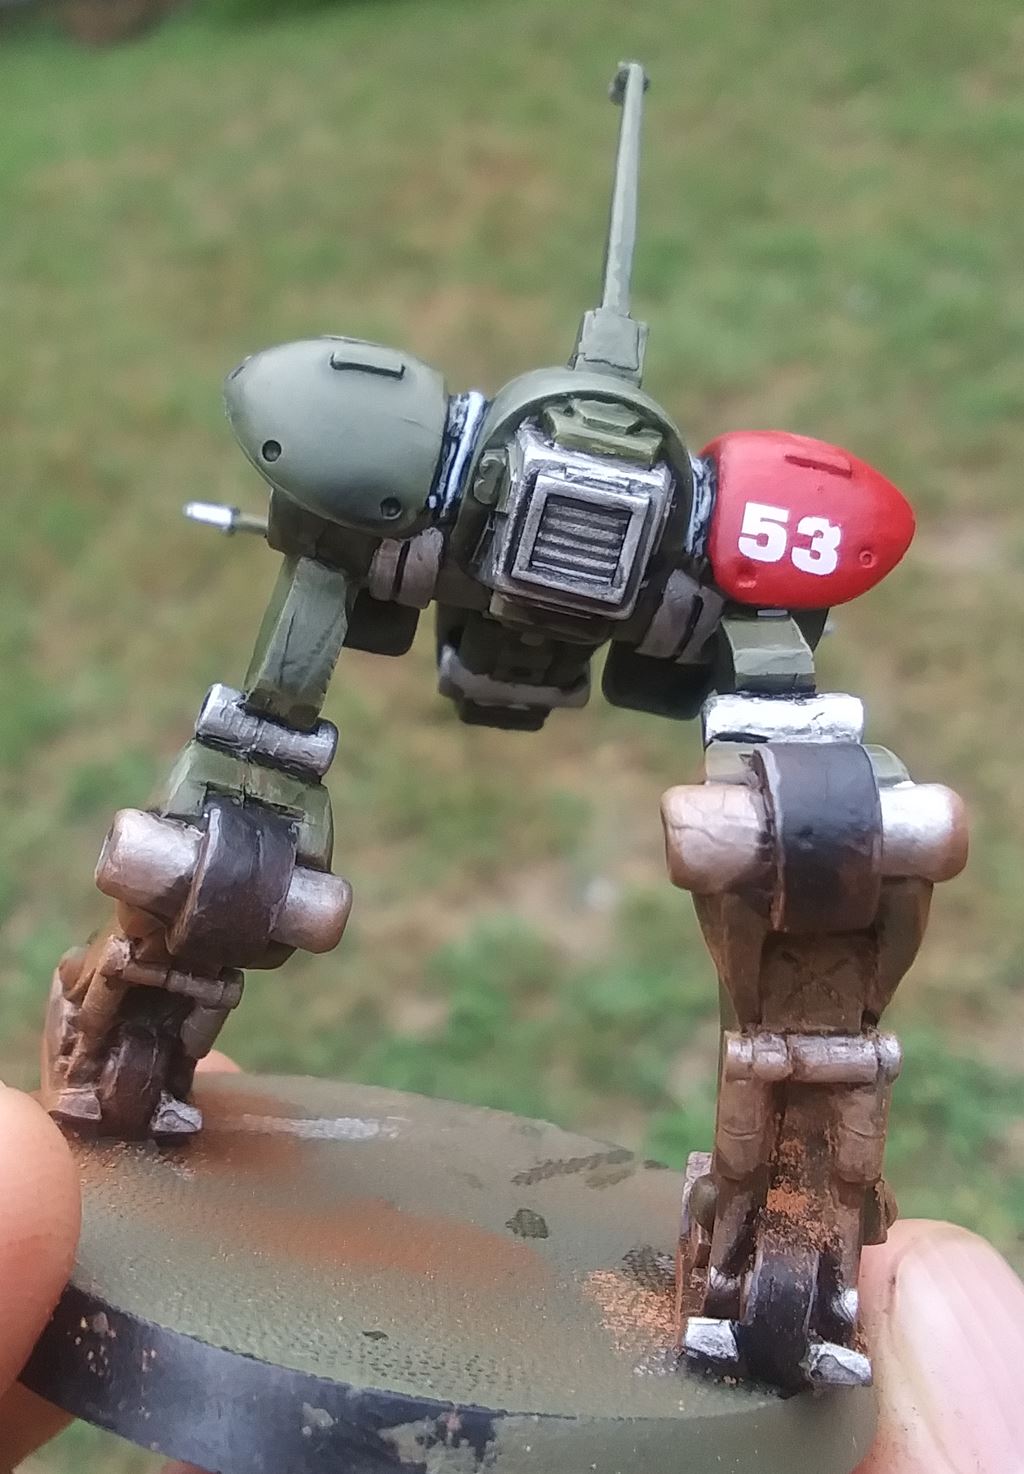
I'd like to avoid immediately ramping up to the biggest units in the game, but the Naga has such a cool profile. It's the smallest of the large models, with a wide variety of loadouts.
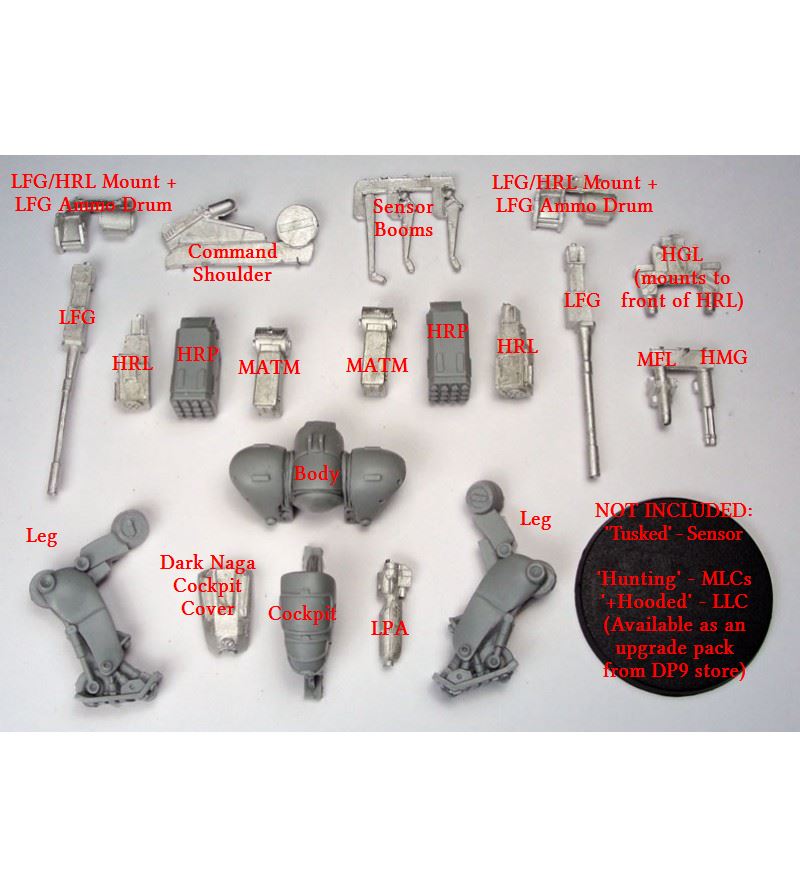
The parts were not all immediately obvious, so I asked around on the forums and Discord and got most of it explained to me. For future reference's sake, posting publicly here.
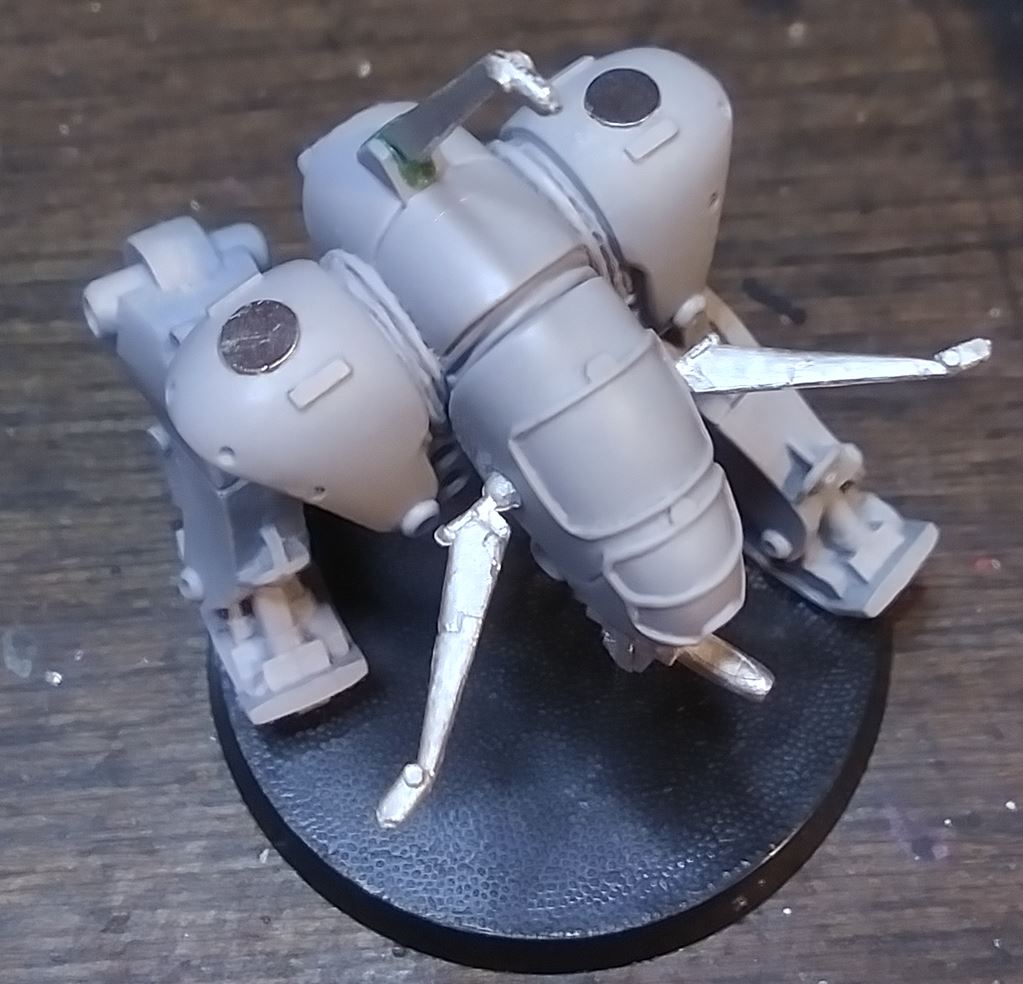
A relatively simple magnet job. 4mm x 1mm discs in the shoulders.
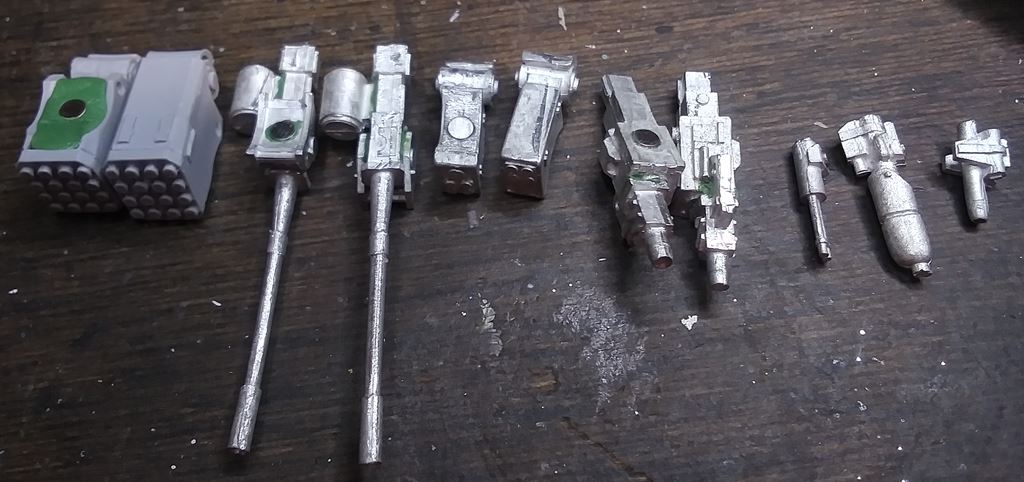
And all the weapons laid out with their magnets, which are a mix of 3mm and 2mm x 1mm discs.
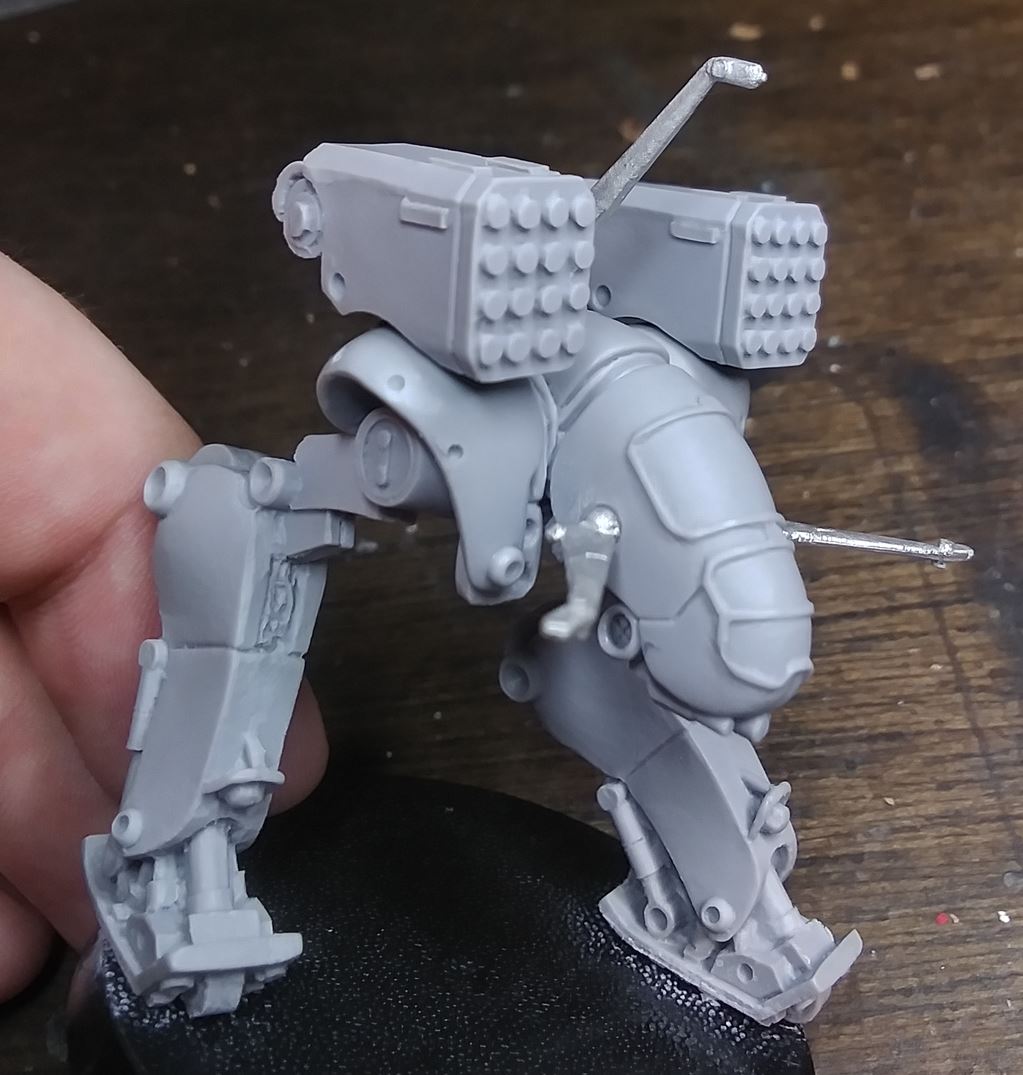
They sit close enough and straight enough to look good in table conditions.
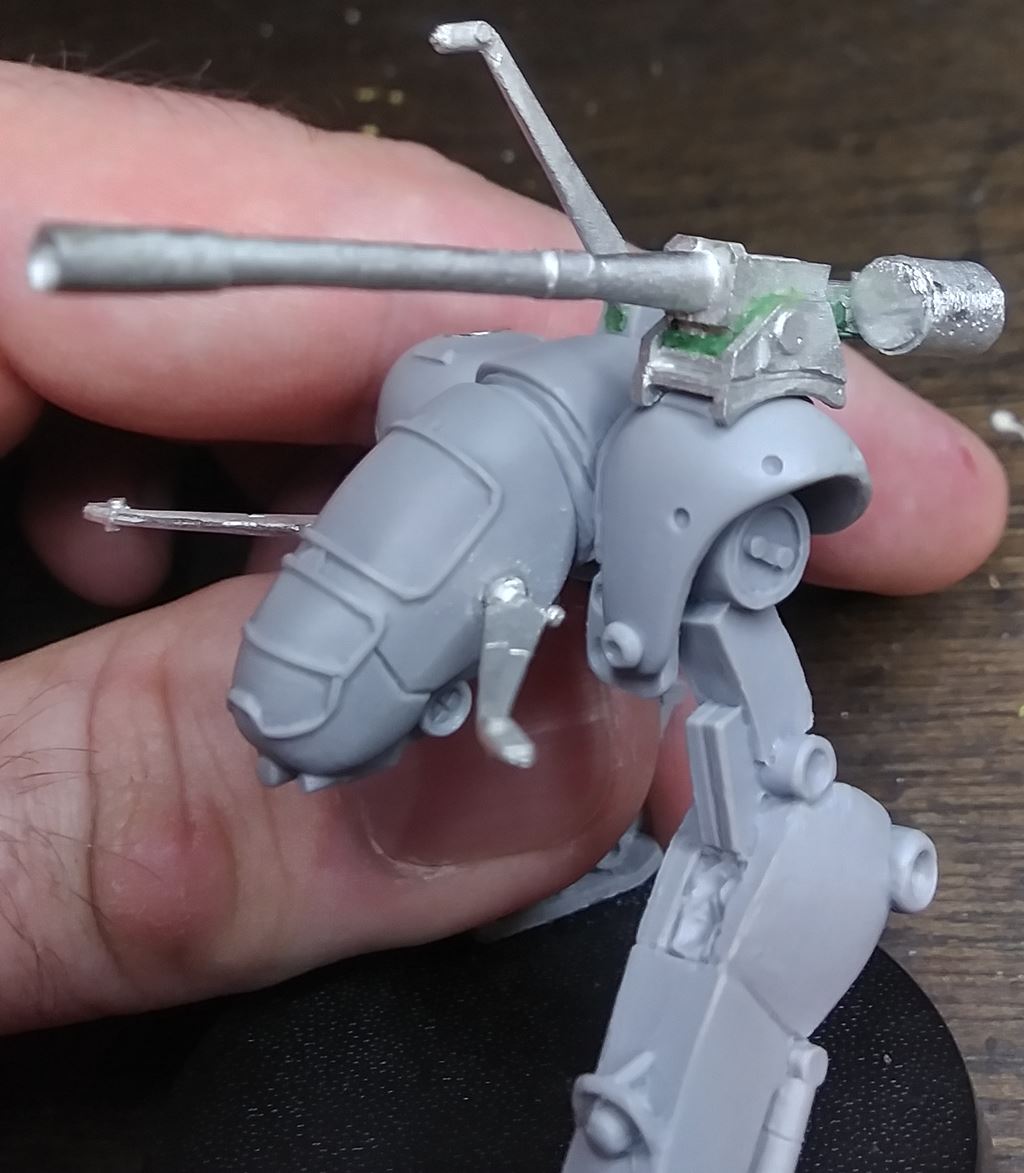
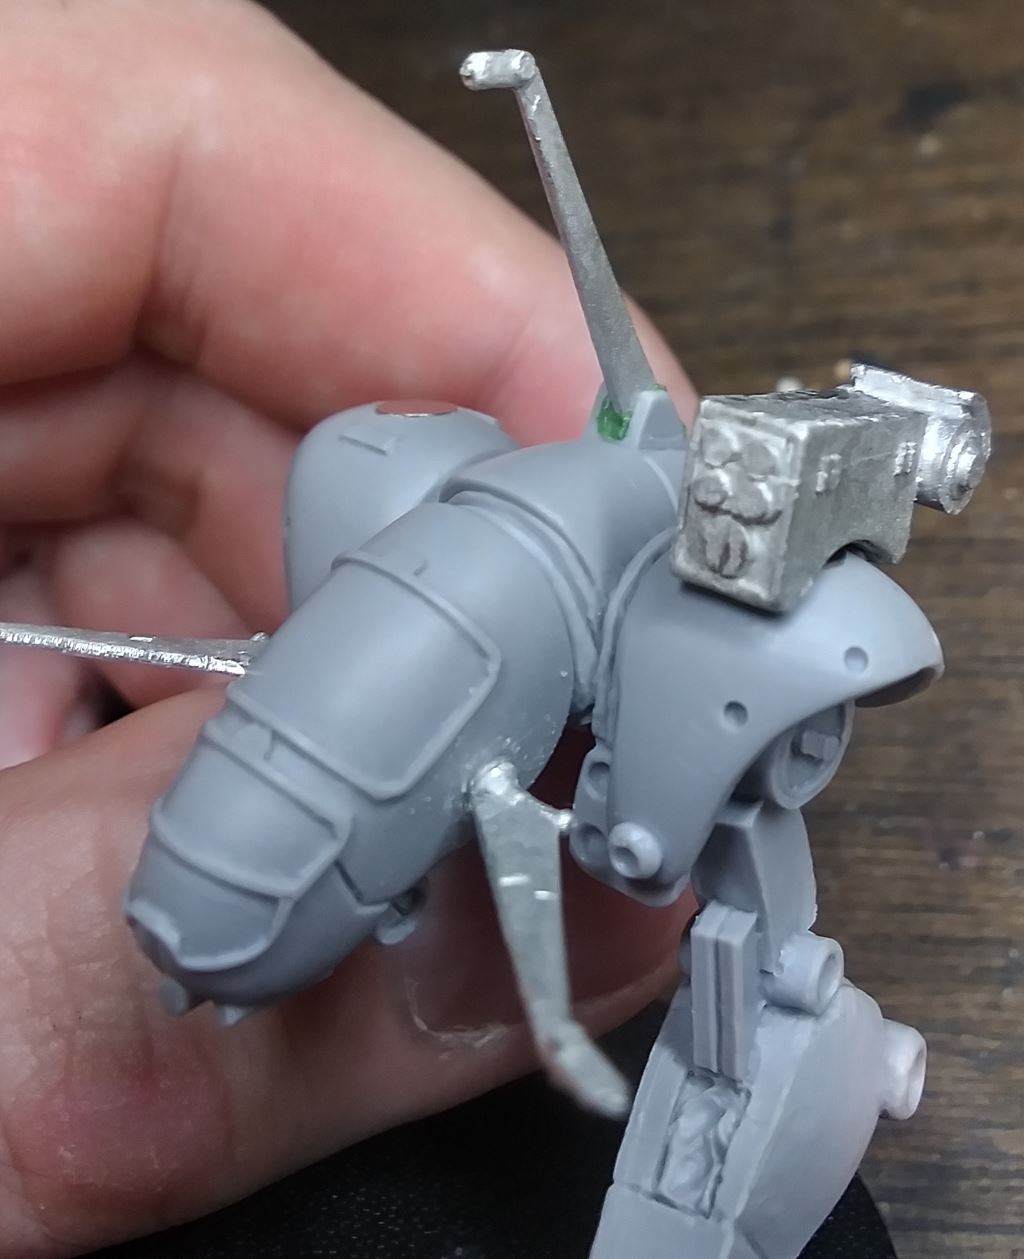
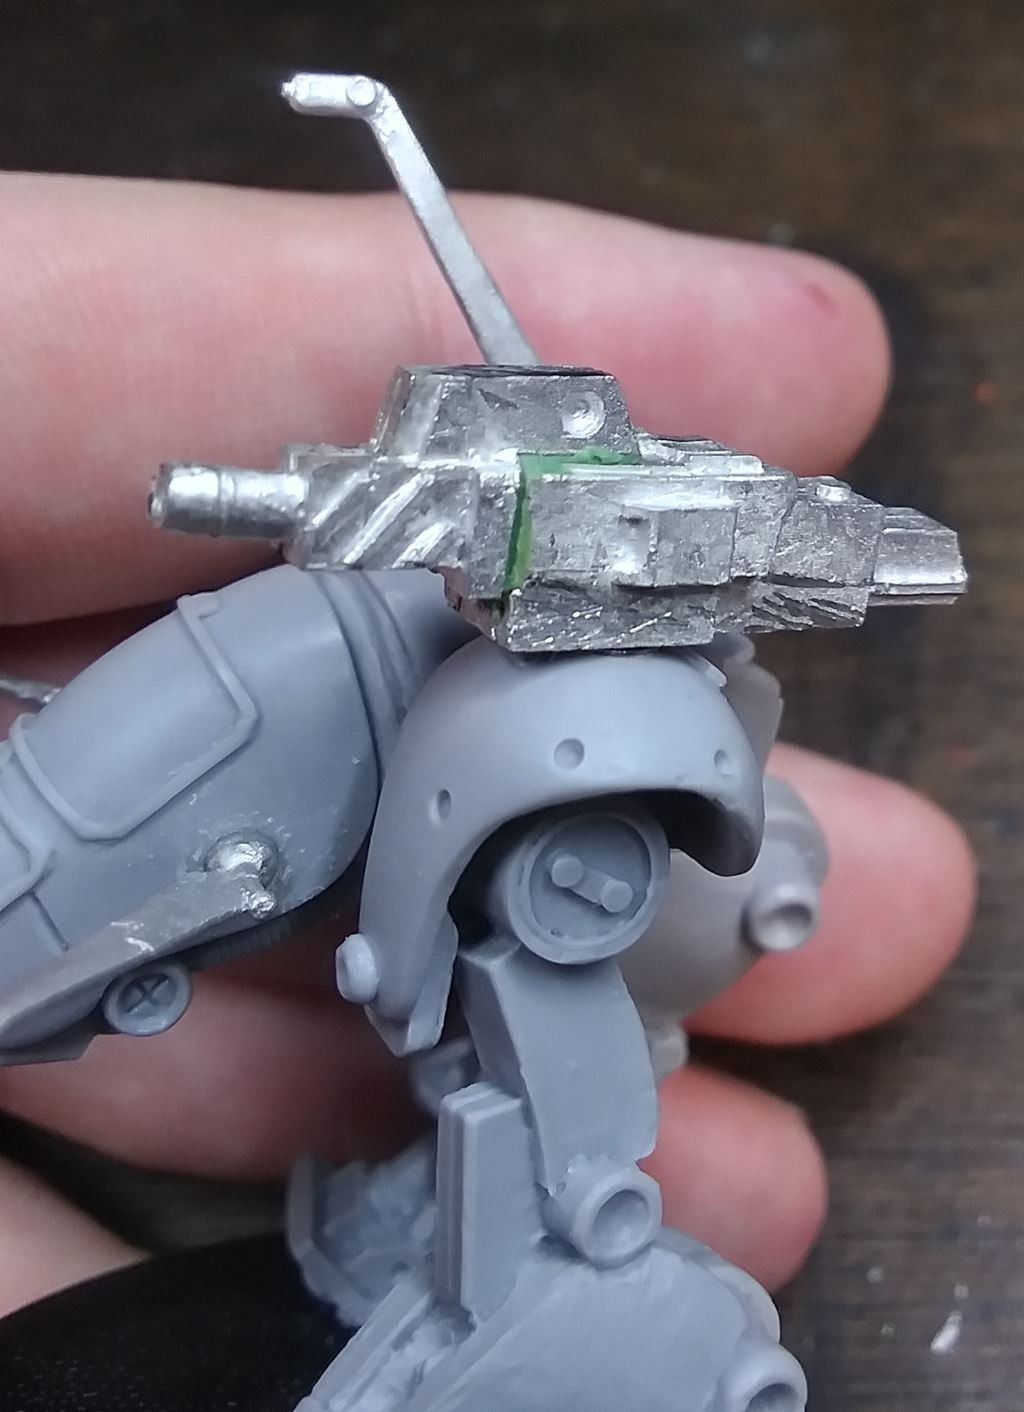
The Heavy Grenade Launcher I actually made by taking the HGL front half and putting on the Heavy Rotary Laser body, which is a variant not compatible with the Southern army, so the piece was going to go unused. What I didn't realize is that it's supposed to the use the mounting bracket of the Field Gun, so it sits kinda wonky by itself. I need to sculpt or kitbash something better for it.
A small 2mm x 1mm in the chin for the small arms. I've got three options assembled in the above weapons spread pic.
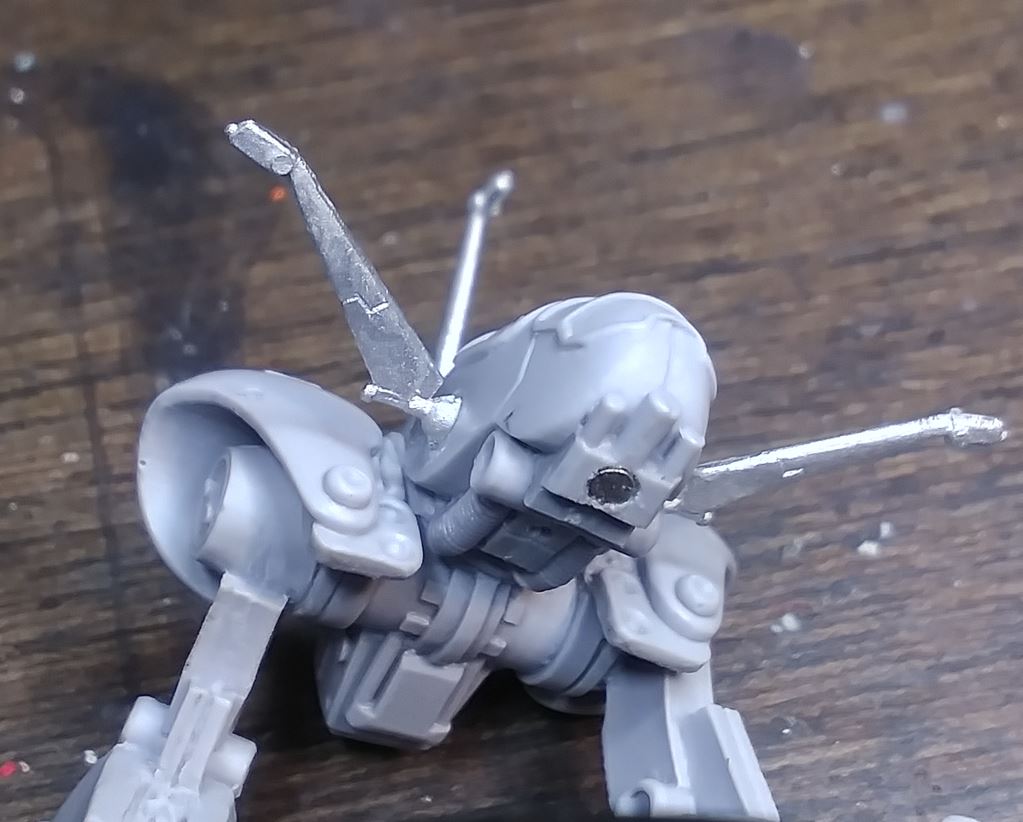
The chin weapon sits extremely flush. Medium Flamer seen here.
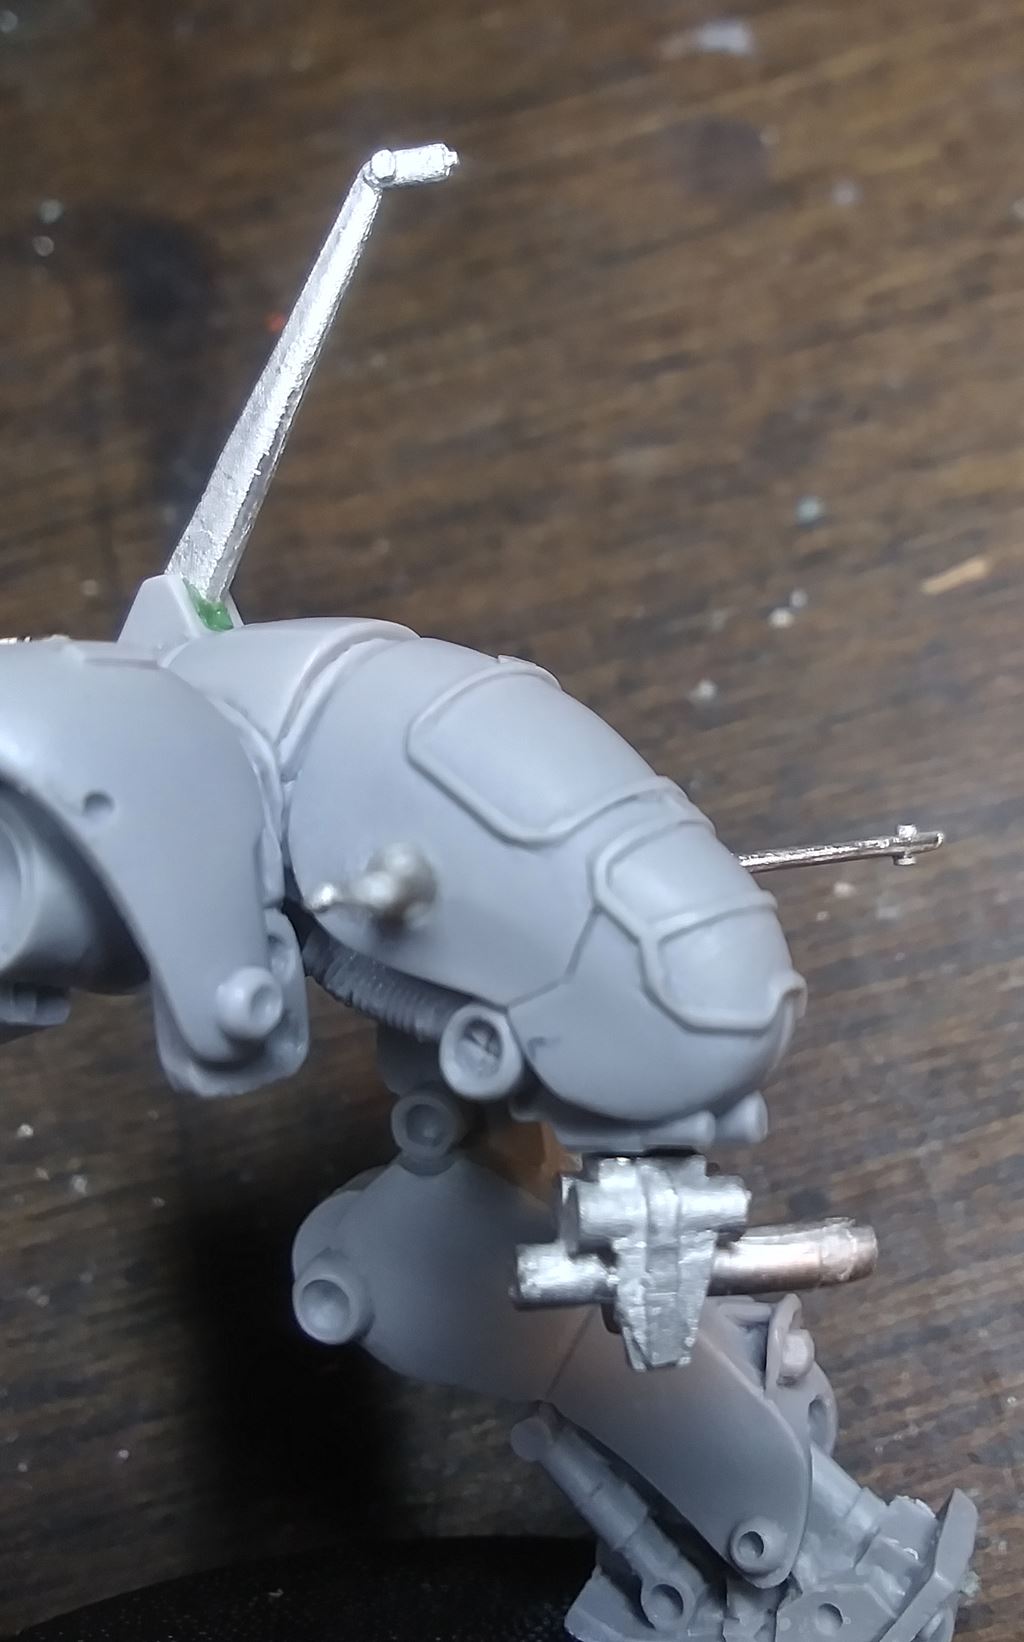
The shop pics are a bit lacking. These are all the angles I wish I'd been able to see before ordering. The casting was pretty great, no major mold lines and no bubbles at all. There was some unfortunate flash in the front shins, but I think they were supposed be visible interior wires maybe? It mostly just looked like noise and greebles.
The canopy I wanted to try the Molotow mirror chrome again. All the previous pieces I did with it had smaller paneling, and I think it's slightly too much here on the big panels. But I would have been far more unhappy with my meager canopy lensing/gradient job, so I can definitely live with it.
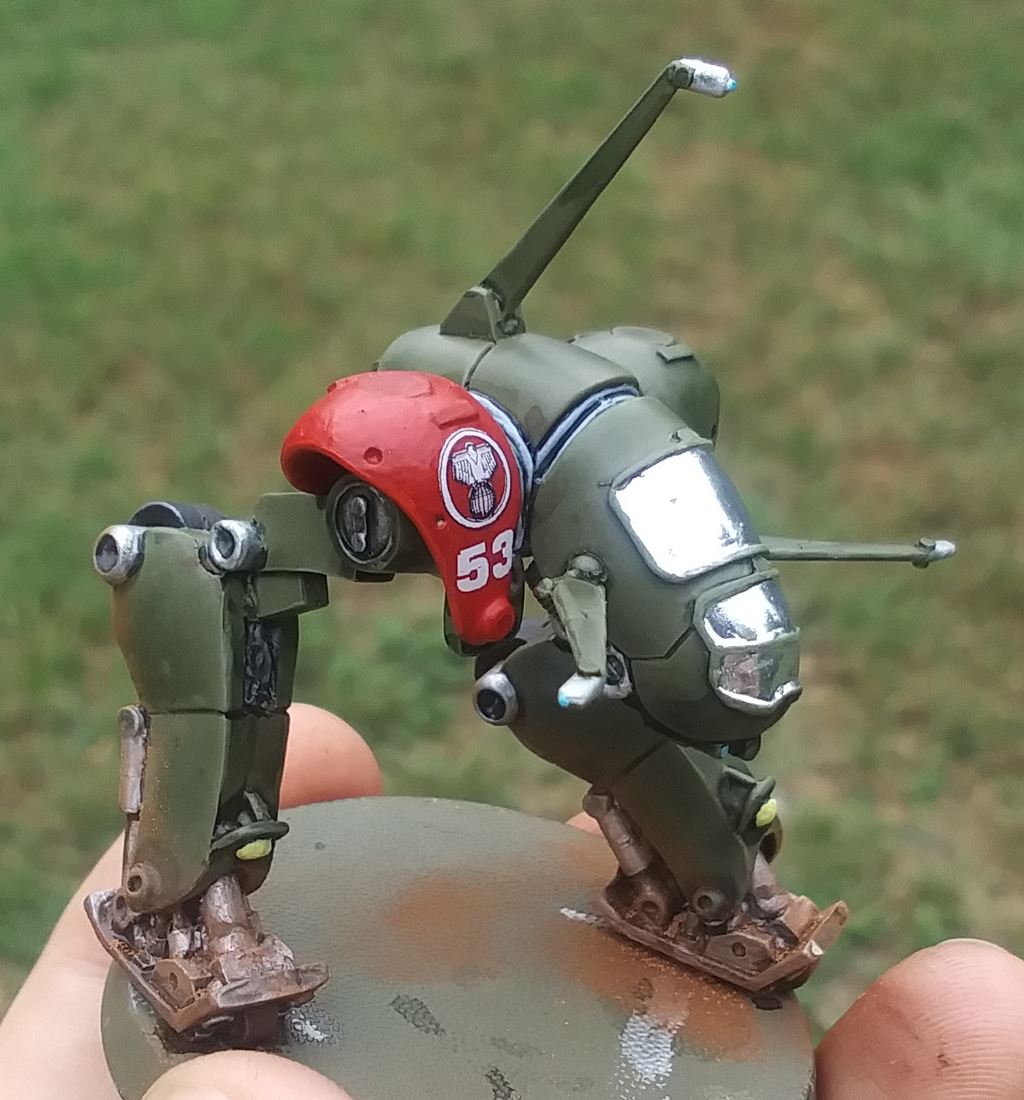
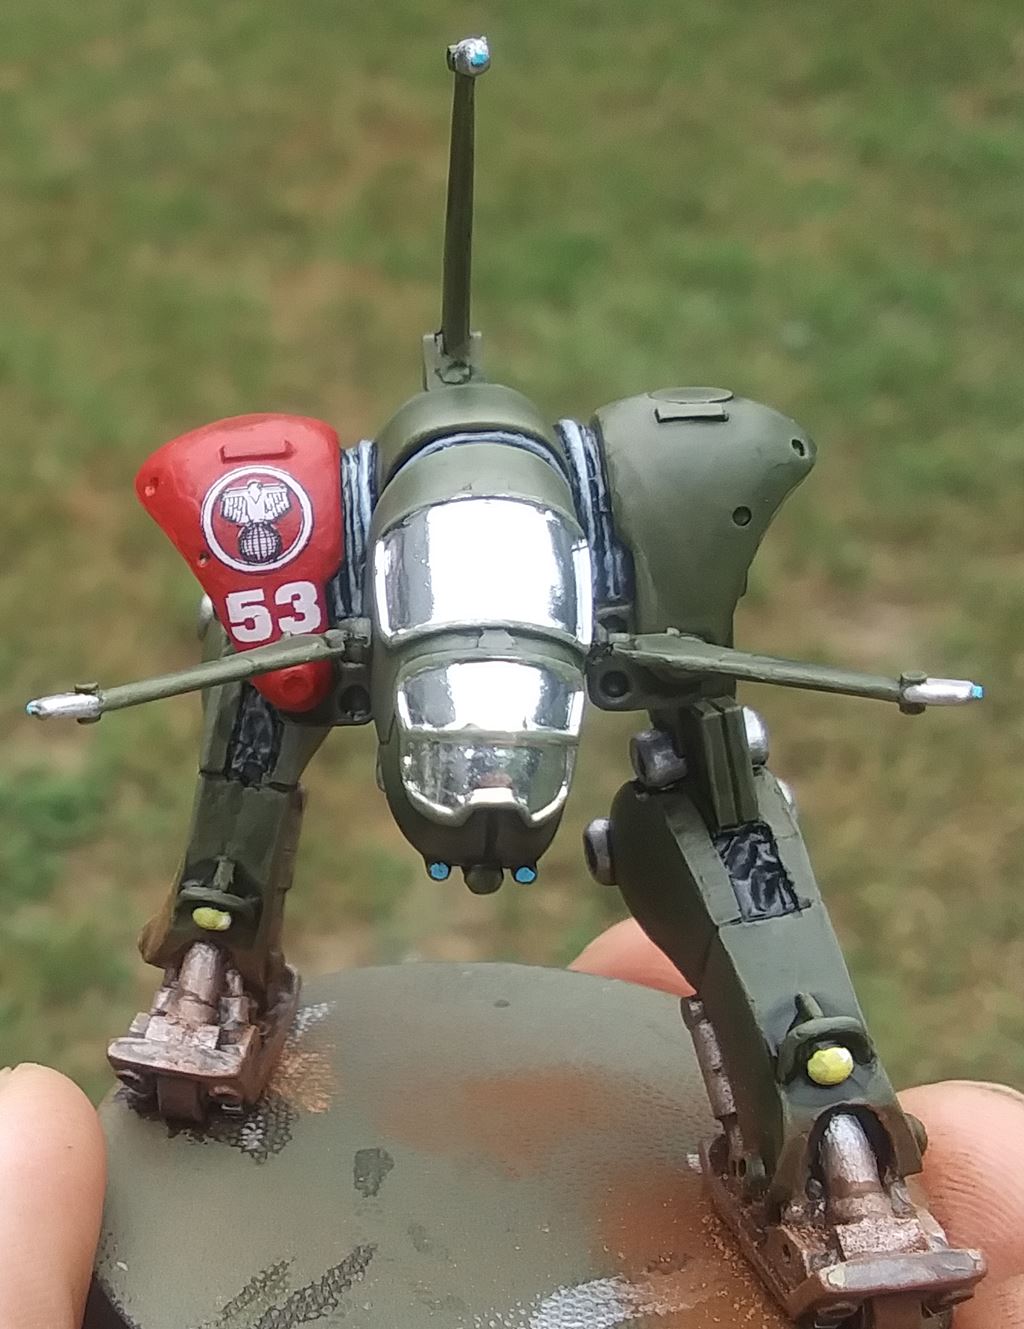
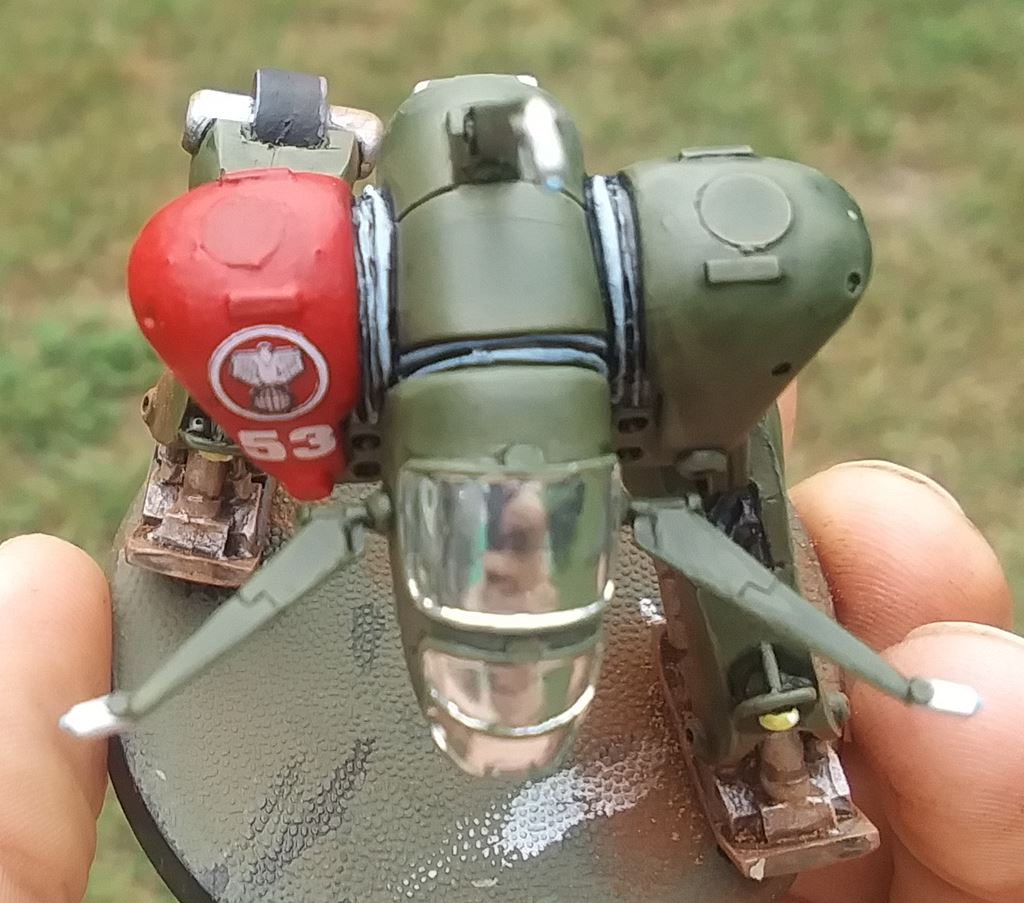
A parting shot of all Southern models I've completed in parade array.
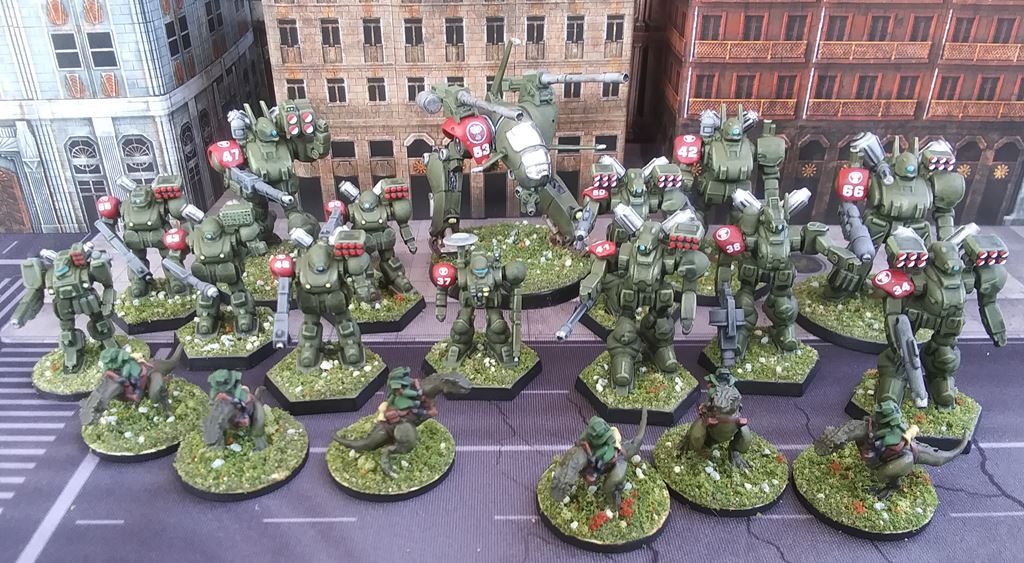
I've got a few more things I'd like to pick up to expand and flesh out the force, various specialist gears, infantry, more basic gears. I went through the catalog and eliminated everything I don't like the looks of, and now I'm going to figure out how to make them an effective force.